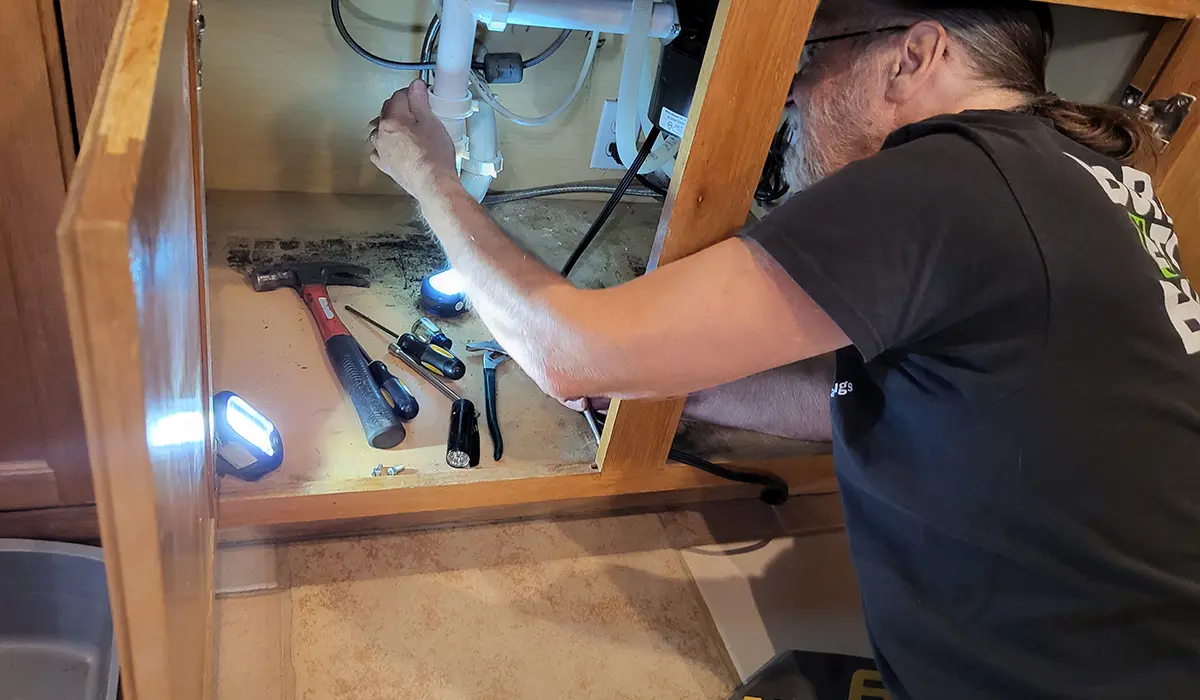
Gather the Necessary Tools For Garbage Disposal
Gather the necessary tools and materials to install a garbage disposal. You’ll need a garbage disposal unit, a sink flange, a plumber’s putty, a screwdriver, a wrench, pliers, and a hammer. Have a bucket or bowl ready to catch water and a pipe wrench for loosening old pipes.
If the disposal doesn’t come with a power cord, obtain one. Get wire nuts, electrical tape, and a voltage tester for the electrical connections. PVC pipes, a hacksaw, and a plumber’s tape are also essential for fitting the disposal into your plumbing system. Having these tools and materials on hand ensures a smooth installation process.
If the new disposal is a plug-in variety, you’ll also need to attach its power cord by removing the electrical cover plate on the bottom of the unit.
Turn the Power Off
Before starting, ensure the disposal is unplugged and its circuit breaker or fuse is turned off. You should also turn the water off to the disposal to avoid accidents.
Testing the outlet with a voltage detector pen is a good idea to ensure it’s not live. Once it’s safe, remove the electrical cover plate from the bottom of the disposal and locate the wire nut connectors. Unscrew them with a screwdriver to disconnect the power.
If the disposal still sounds jammed, use a hex tool (like a screwdriver) to remove the item from the bottom. Then, press the red reset button on the bottom of the unit.
Remove the Existing Old Unit from the Disposal
If you’re replacing an existing disposal, using the same mounting ring and sink flange may be easier. Just make sure that you have a model of a similar size and that it will fit under your sink.
If you need to, use a plumber’s putty to secure the new flange to the sink. It’s considered good practice to alternate tightening and loosening each mounting screw until the excess plumber’s putty seeps out, which indicates that the seal is secure.
Once the putty dries, gently jiggle the flange to ensure it’s still sealed. This will probably take about 20 minutes.
Install New Mounting Ring for Garbage Disposal
This step is a bit more involved and may require some DIY skills. You must remove the existing disposal and install a new mounting ring and sink flange.
This will ensure the proper fit and prevent water or food scraps from leaking between the drain opening and the garbage disposal unit.
A ring of plumber’s putty should be placed on the flange and evenly spread around it. This will help to create a strong seal between the sink flange and the mounting ring.
Then, plastic wire nuts connect the like-colored wires from the power supply and dishwasher hose to the new disposal unit. Ensure the cables are plugged in properly before replacing the faceplate and turning on the disposal.
Install Sink Flange
If your sink has a flange, mount the disposal right where it sits. Apply a little plumber’s putty under the sink flange to ensure a solid seal with your drain.
Work the putty thoroughly between your hands to soften it and roll it into a snake about the diameter of a pencil. Apply it evenly around the underside of your sink basket flange.
Install the mounting ring over the sink flange and tighten the fasteners one at a time. Monitor the rubber gasket while you tighten it to ensure a snug fit.
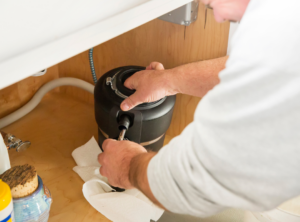
Prepare & Mount Disposal Unit
Now that you have all your tools, it’s time to prepare and mount the disposal unit. First, apply a bead of the plumber’s putty to the sink flange.
Then, slide the new disposal into place. Three tabs on the disposal help it lock into the sink mounting assembly. It may take a little force, but it will eventually lock into place.
Next, replace the plate on the bottom of the disposal and connect the power wiring. Use wire connectors to secure the white and black wires to their matching counterparts on the power supply.
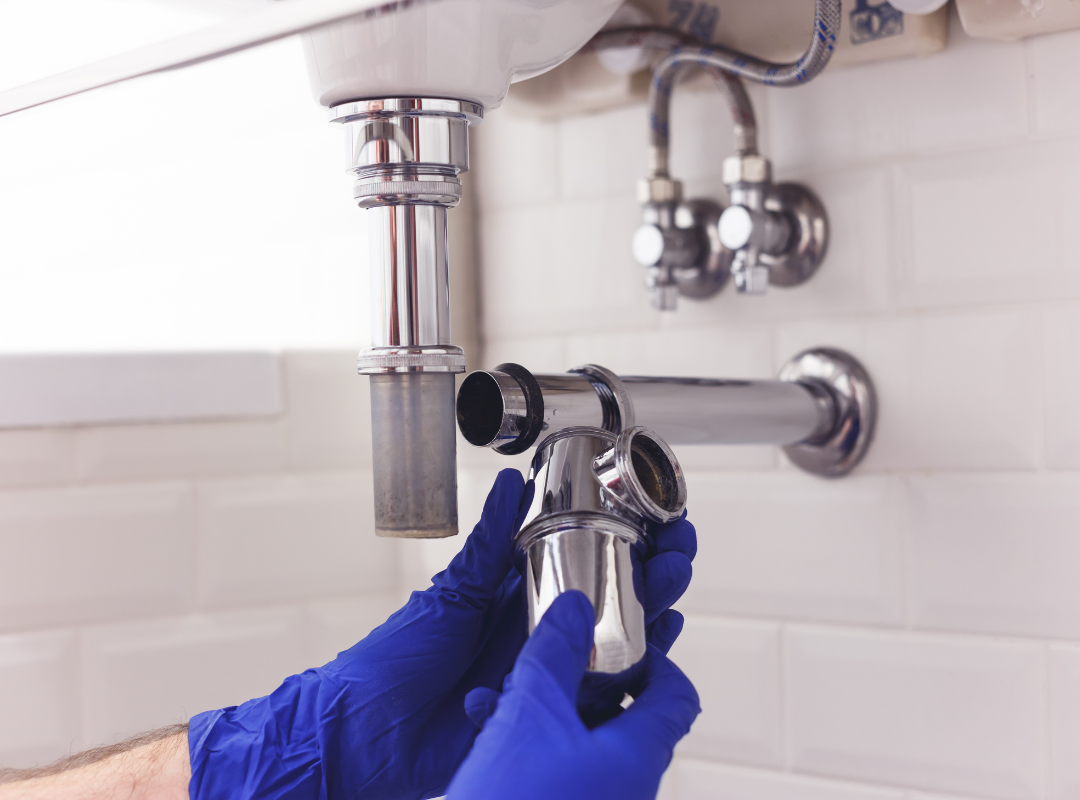
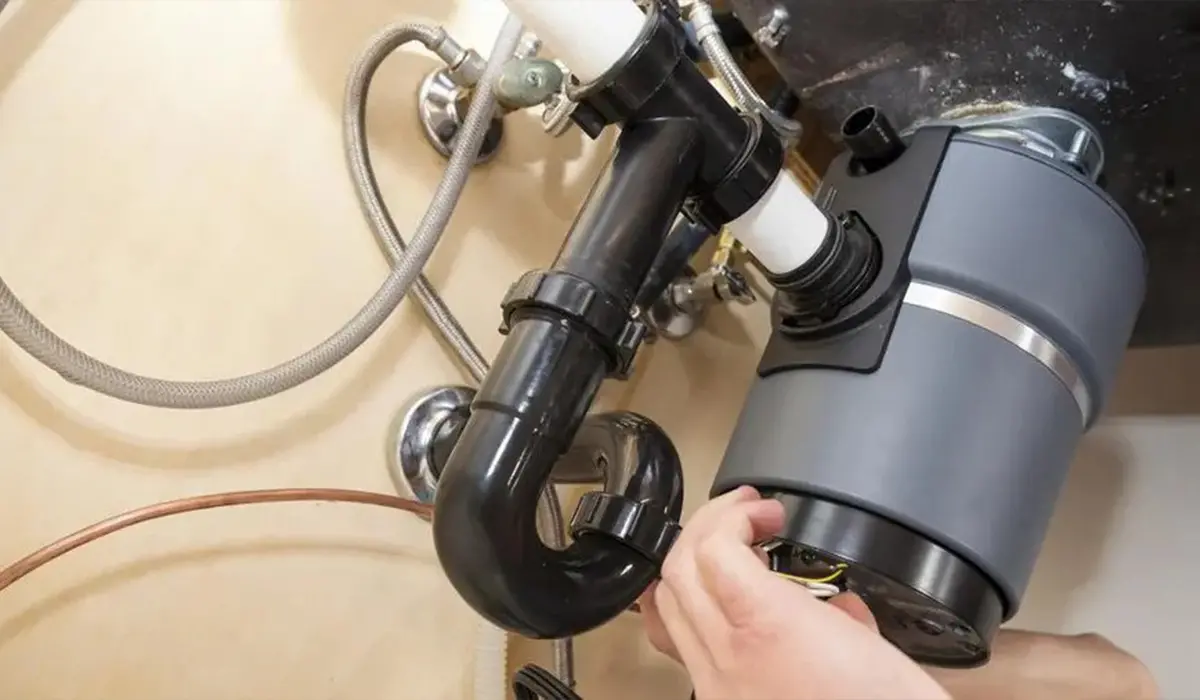
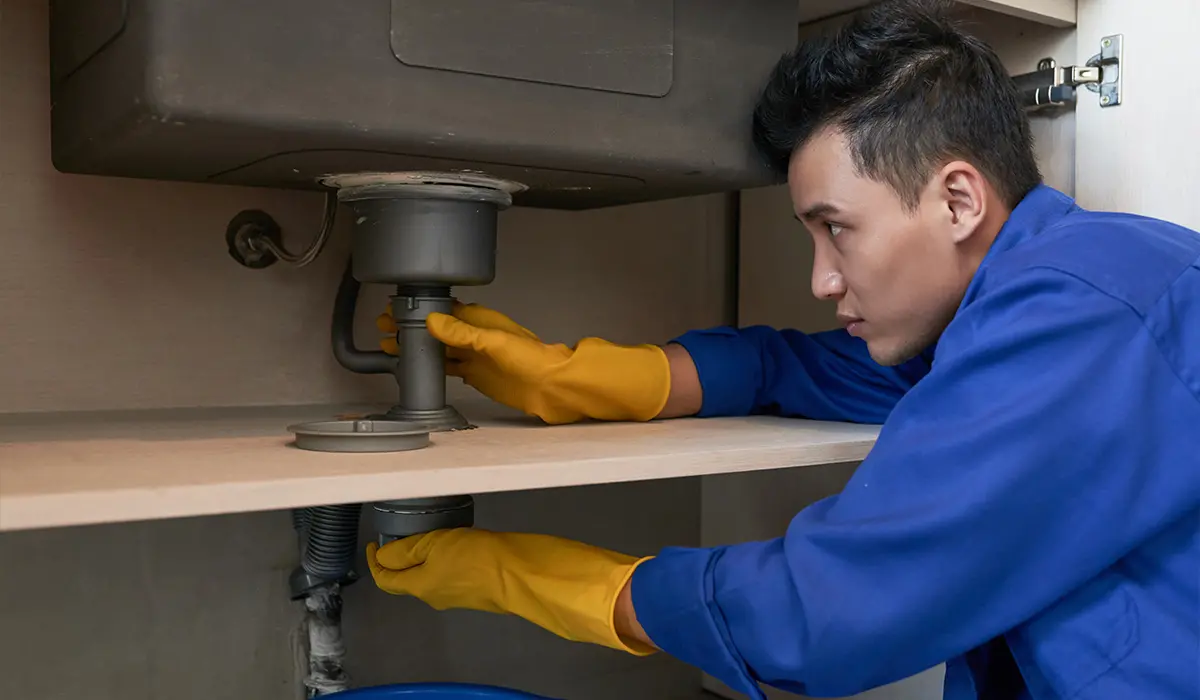
Connect Disposal to Drain Pipes
Garbage disposals reduce kitchen waste and minimize drain pipe damage. They also prevent rotting food from entering the sewer system and reduce kitchen odors. Before installing a disposal, follow the manufacturer’s installation instructions and any safety recommendations.
First, to install the disposal, align the sink flange and ring with the unit’s bottom collar. Screw the three mounting screws firmly, then secure the collar with a spring ring or nut. This will help maintain optimal water pressure.
Next, connect the disposal to the drain trap. It is important to maintain a quarter-inch downward slant from the disposal to the tee installed in the drain trap.
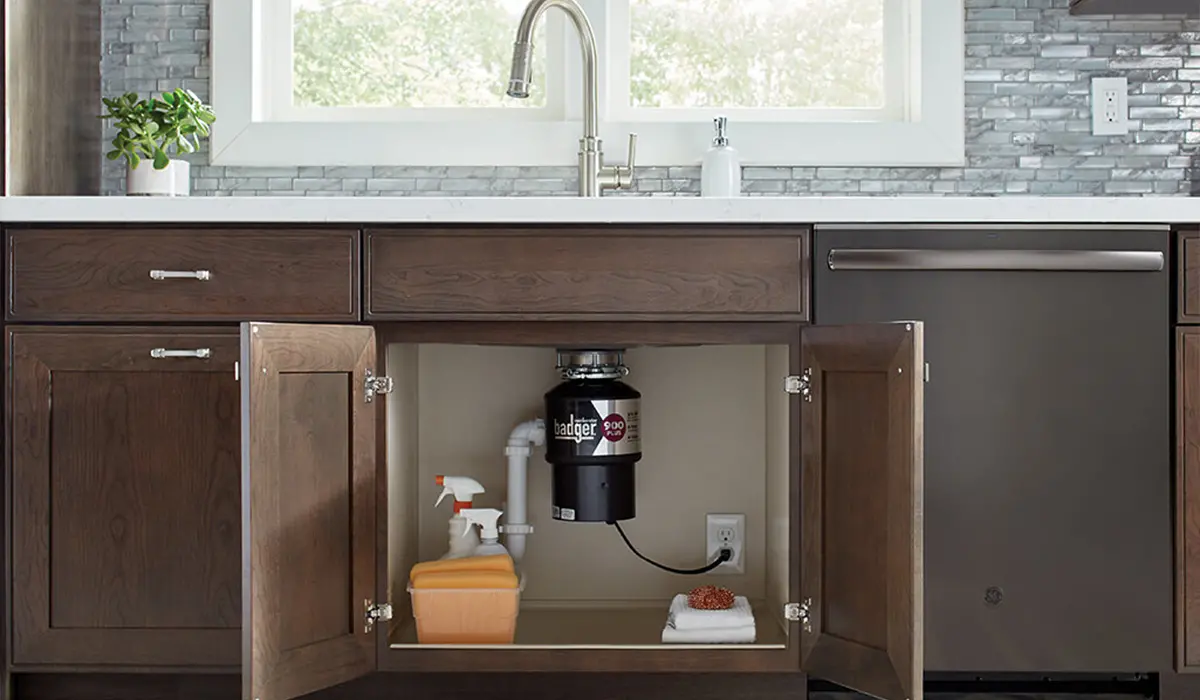
Wire Disposal to Power Source
Most new disposals come with a plug-in power cord that connects to an outlet in the sink cabinet controlled by a switch. The disposal may also be hardwired into a dedicated circuit.
If you plan to hardwire, turn off the power at the breaker box before starting. If you are unsure what to do, consult a certified electrician or tradesman.
Remove the electrical cover plate on the bottom of the disposal to access the wiring. Cut the white and black wires close to their connectors, then cut the green grounding wire just before its connector.
Attach Dishwasher Hose if Needed
It is not uncommon for a new disposal to have water leaks around the unit. If this is the case, the best way to locate the leaks is to pour a few cups of dyed water down the sink drain and glide a light-colored rag over the disposal.
If you do not want to use a dishwasher drain hose, prepare the unused port on the sink by knocking out the plug inside the spout (this should be easy to do with a screwdriver). Once you have eliminated all the water leaks, test your disposal and check for any signs of electrical issues.
Conclusion
Installing a garbage disposal can significantly enhance your kitchen’s functionality and cleanliness by efficiently managing food waste. Consult a certified electrician or tradesman if you’re unsure about electrical connections. Following these detailed instructions will ensure a smooth installation and long-term reliable performance of your new garbage disposal.