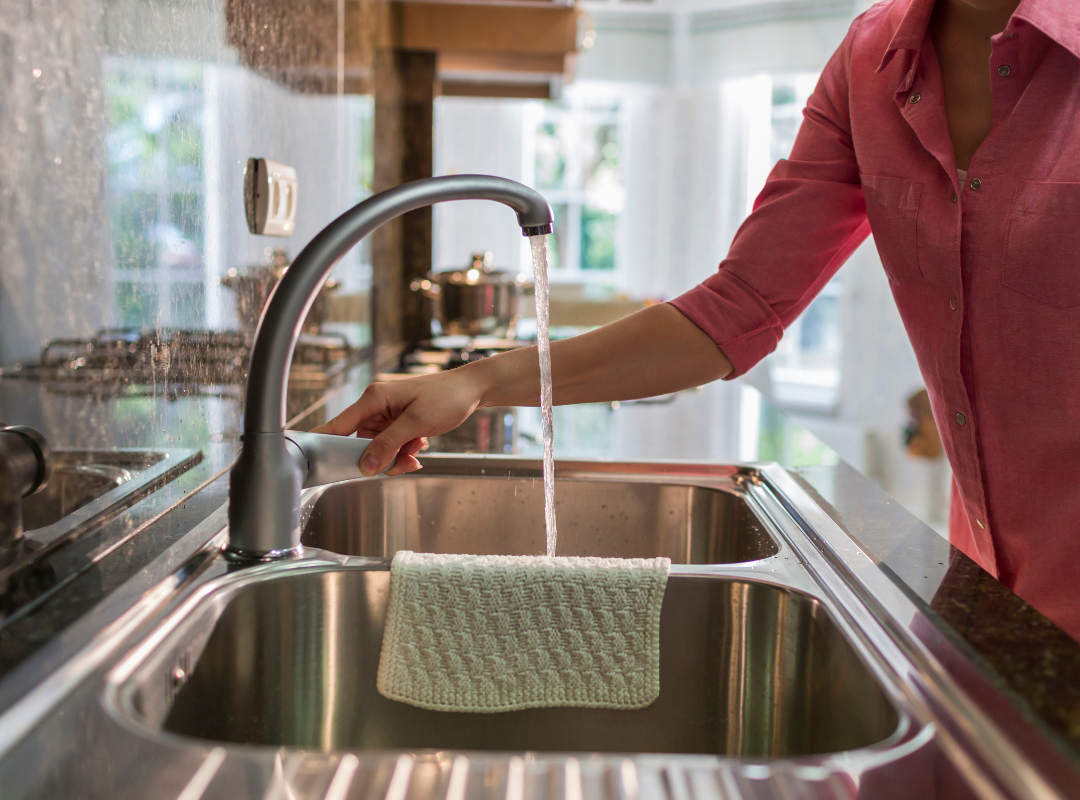
Have you ever turned on your faucet and noticed a weak stream instead of the strong water flow you expect? Many homeowners blame the faucet itself or low water pressure across the house. But here is the first thing many people miss. The problem often starts with a tiny part sitting right at the end of your faucet. That part is the faucet aerator. A faucet aerator may look small, but it plays a big role. You might ask how to clean a faucet aerator and restore water pressure fast. We will break every step down. Keep reading because you might restore your faucet to its original flow faster than you think.
Why Your Faucet Aerator Gets Clogged
Let’s talk about what happens behind the scenes when a faucet is clogged. Water moves through pipes every day. Along the way, it carries tiny particles. These particles include calcium, sediment, rust, and mineral buildup. If you have hard water, the problem grows over time.
Your aerator faucet catches these materials before they move into your sink. And while that protects your bathroom faucets and kitchen fixtures, the buildup continues to grow. Bit by bit, the small holes inside the aerator shrink. Then you experience lower water pressure.
You may notice several warning signs:
- Uneven spray patterns
- Water splashing in different directions
- Reduced water pressure
- Slow or inconsistent water flow
- Strange water stream patterns
- A weaker flow than normal
When your faucet acts up, do not jump the gun and assume major plumbing trouble. The aerator often causes the issue.
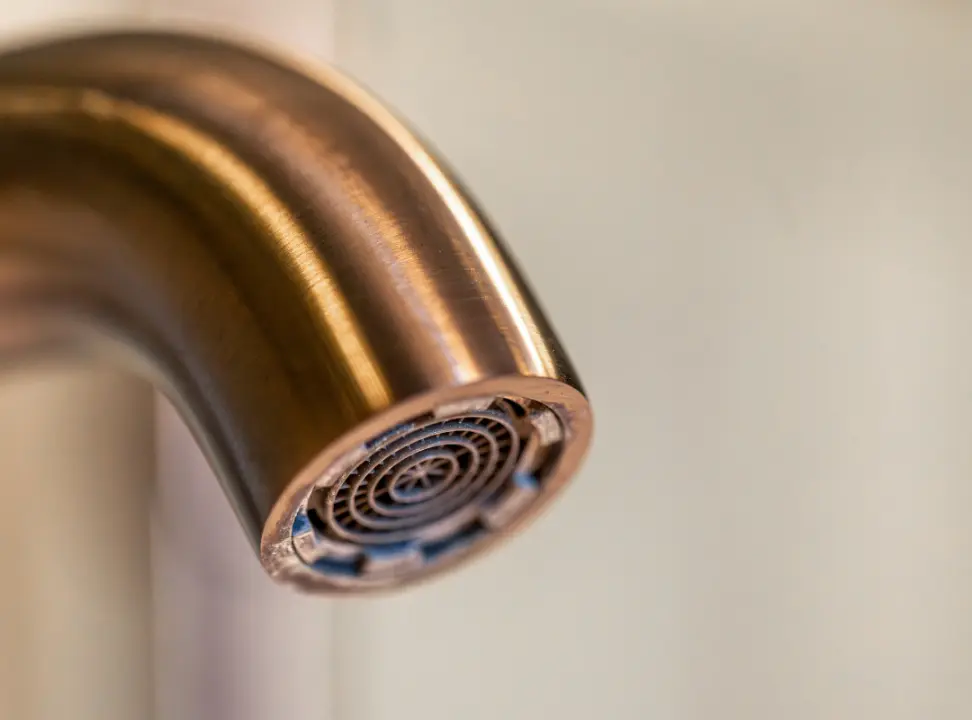
What Does a Faucet Aerator Actually Do?
Now you may wonder why this small part matters so much. A faucet aerator works like a filter and flow regulator. It mixes air with water to create a steady water flow.
That simple process offers several benefits:
- Helps reduce splashing
- Improves the water stream
- Supports better water quality
- Helps control water use
- Reduces waste and may lower water bills
Without an aerator, water exits the faucet with more force and less control. Think of it as a traffic officer directing water where it needs to go.
Gather These Simple Tools to Fix It
You do not need a large toolbox for this process. Most homeowners already have these essentials nearby:
Grab these items:
- Bowl
- White vinegar
- Small brush
- Old toothbrush
- Pliers
- Soft cloth
- Plastic bag
- Towel
- Aerator key for a hidden aerator(you can use a needle-nose plier in case you do not have one)
Place a towel in the sink before you begin. Small parts can drop quickly, and nobody enjoys fishing tiny pieces out of a drain.
Removing the Faucet Aerator
Now comes the easy part. Start with your faucet turned off.
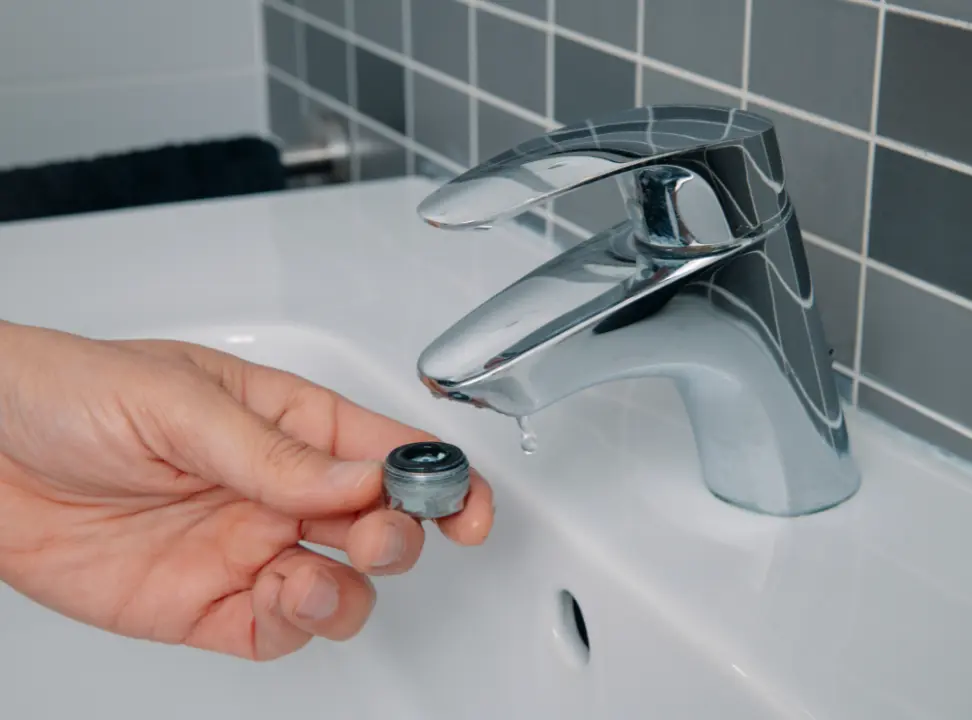
Look at the tip of your faucet. Most aerators screw onto the end. Try to unscrew it by hand first.
Turn it counterclockwise. If the aerator feels stuck, wrap a cloth around it and use pliers to remove it. The cloth helps protect the metal finish from scratches.
Some newer bathroom faucets include a hidden aerator. In that case, use an aerator key to loosen it. Take your time. Do not force anything. Slow and steady wins the race.
Breaking Down Mineral Buildup
Now let’s tackle the real troublemaker.
Once you remove the aerator, inspect it carefully. You will likely see mineral buildup, calcium deposits, sediment, or tiny pieces of debris trapped inside the small screen.
Fill a bowl with vinegar and place the aerator inside.
Let it sit and soak.
The soaking process helps loosen hard water deposits and dissolve calcium. Vinegar works as a natural cleaning method because its mild acidity breaks down buildup without damaging metal components.
Allow the aerator to soak for around thirty minutes. For severe clogging, let it soak longer. Sometimes, stubborn buildup hangs around like an unwanted guest. Patience pays off here.
Let’s Scrub Away the Hidden Gunk
Now your vinegar did the heavy lifting. Time for the finishing touch.
Take a small brush or an old toothbrush and gently scrub the aerator.
Focus on:
- Small holes
- Threads
- The small screen
- Internal pieces
Give everything a good scrub. Remove debris and sediment.
Use light pressure. Heavy scrubbing can damage removable parts.
This step helps clean aerators completely and restore stronger water pressure.
Before You Reinstall It
Here is a step many people skip.
Before you screw the aerator back into place, turn on the faucet briefly.
Run water for several seconds.
This flushing step pushes sediment and debris out of the line. If particles remain inside the pipes, they can travel right back into your freshly cleaned aerator. Just a quick rinse will do it.
Time to Put Everything Back Together
Let’s wrap things up.
Take the clean parts and place them back in the correct order. Then carefully screw the aerator back onto the faucet.
Tighten it by hand first.
Use pliers only if needed, and avoid over-tightening.
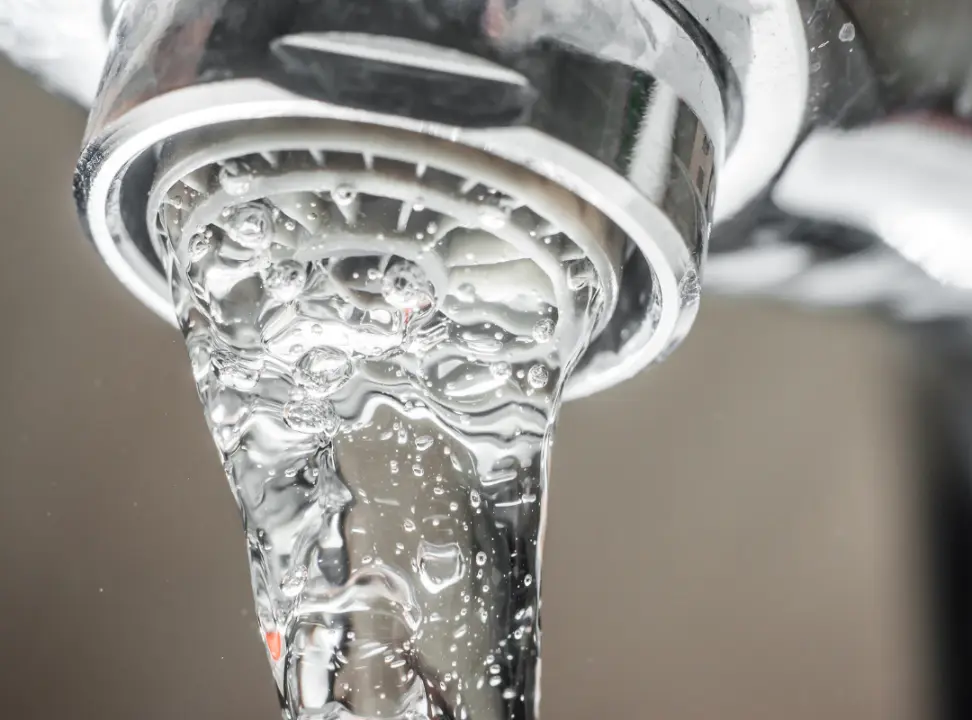
Turn the faucet on and check the water stream.
Most homeowners notice stronger water pressure, better flow, and a more consistent stream right away.
That tiny fix often creates a big difference.
Still Seeing Low Water Pressure? Here’s What Else Could Cause It
Now let’s be realistic. Sometimes a faucet aerator is not the whole story.
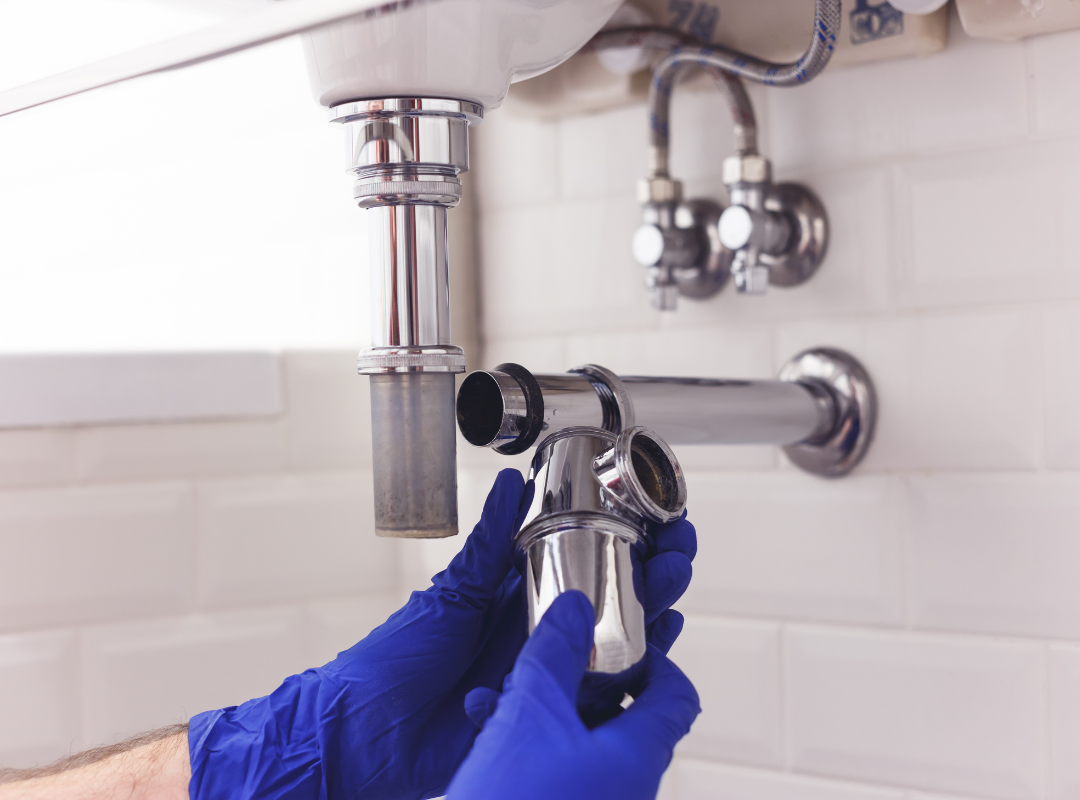
If low pressure stays around after you clean the aerator, another issue may affect your plumbing system.
Possible causes include:
- Pipe sediment buildup
- Hidden leaks
- A damaged fixture
- A shower head blockage
- Municipal supply problems
- A recent water main break
- Larger plumbing concerns
If multiple fixtures lose pressure, check other faucets around your home.
That gives you an important clue.
One weak faucet points toward a faucet aerator problem. Several weak fixtures may point somewhere else.
Build a Simple Routine to Avoid Any Future Problems
Let’s finish with prevention.
Many homeowners wait until the pressure drops before they think about maintenance. A quick cleaning routine helps you avoid future issues.
Try these habits:
- Clean your aerator every few months
- Watch for mineral buildup
- Rinse faucet screens regularly
- Monitor changes in water quality
- Address hard water concerns early
A little attention now saves time later. Small steps often prevent larger repair costs.
Get Your Garbage Disposal Running with Tommie’s Plumbing
When your garbage disposal suddenly stops turning on, the whole kitchen routine gets thrown off. You flip the switch again and still nothing. Sometimes it’s a simple fix, and sometimes the issue runs deeper than a quick DIY solution. That’s where Tommie’s Plumbing comes in. We help homeowners get things flowing again without the trial-and-error frustration.
If you need garbage disposal repair, kitchen sink issues, drain cleaning, leak repairs, or complete plumbing services, we’re the ones to call. Contact us today and schedule your visit.