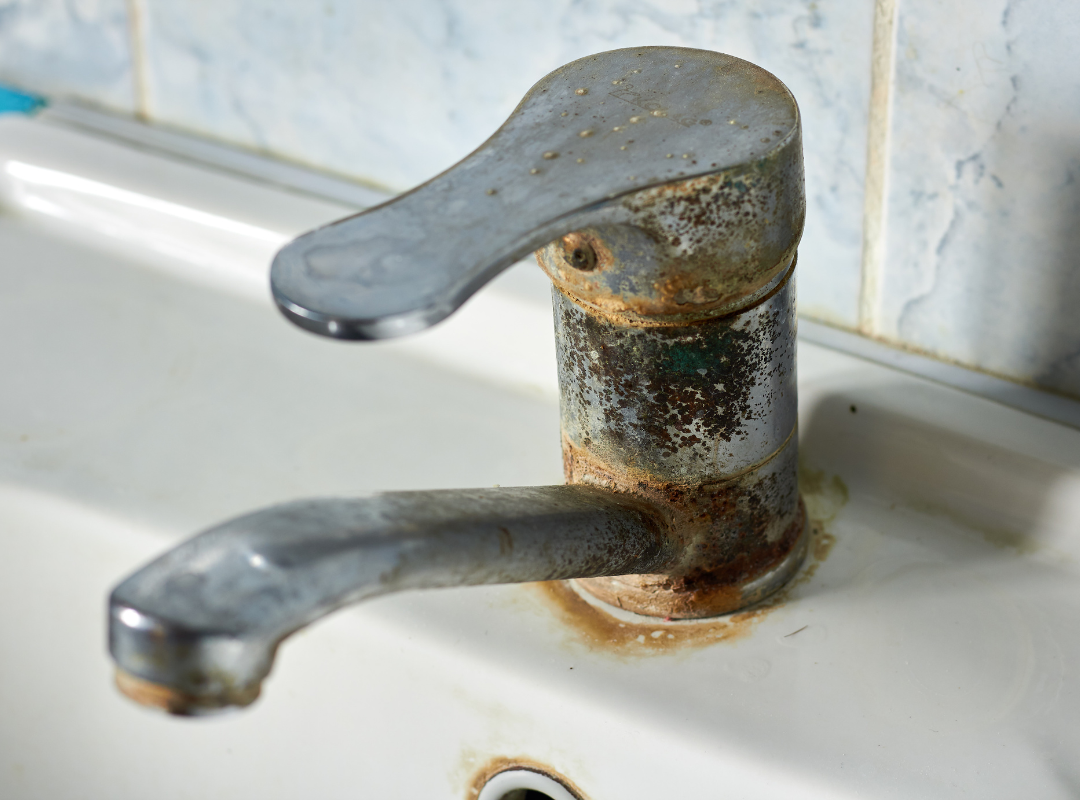
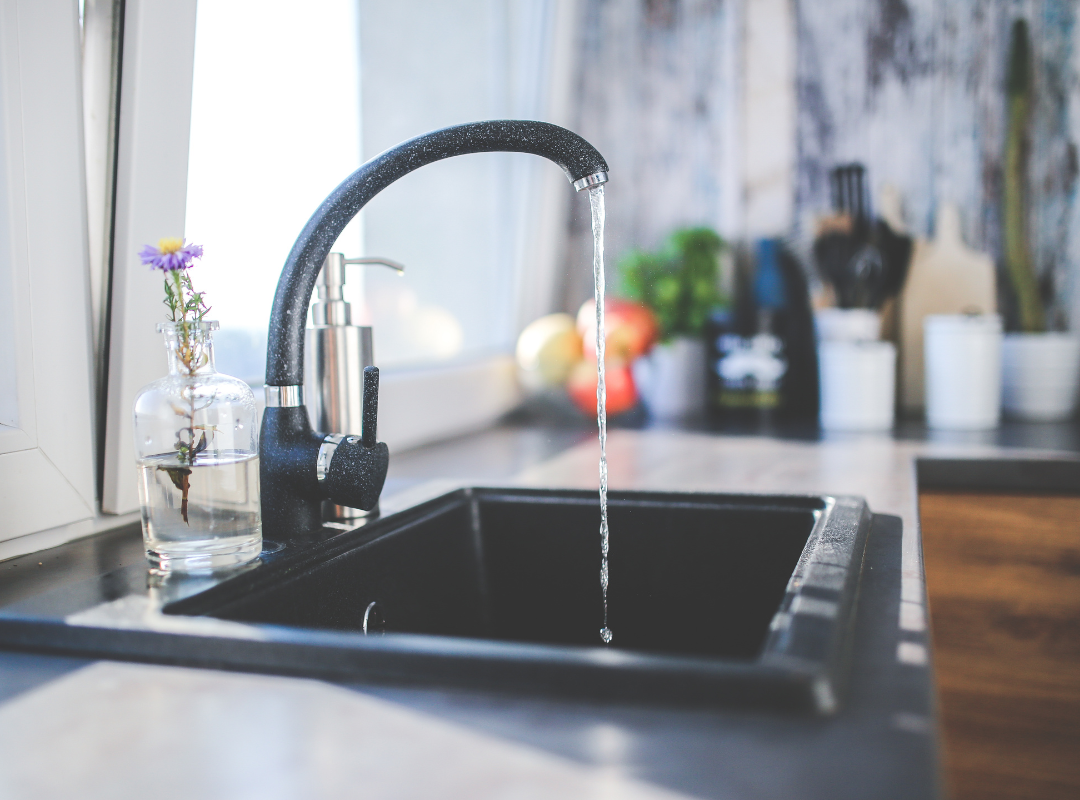
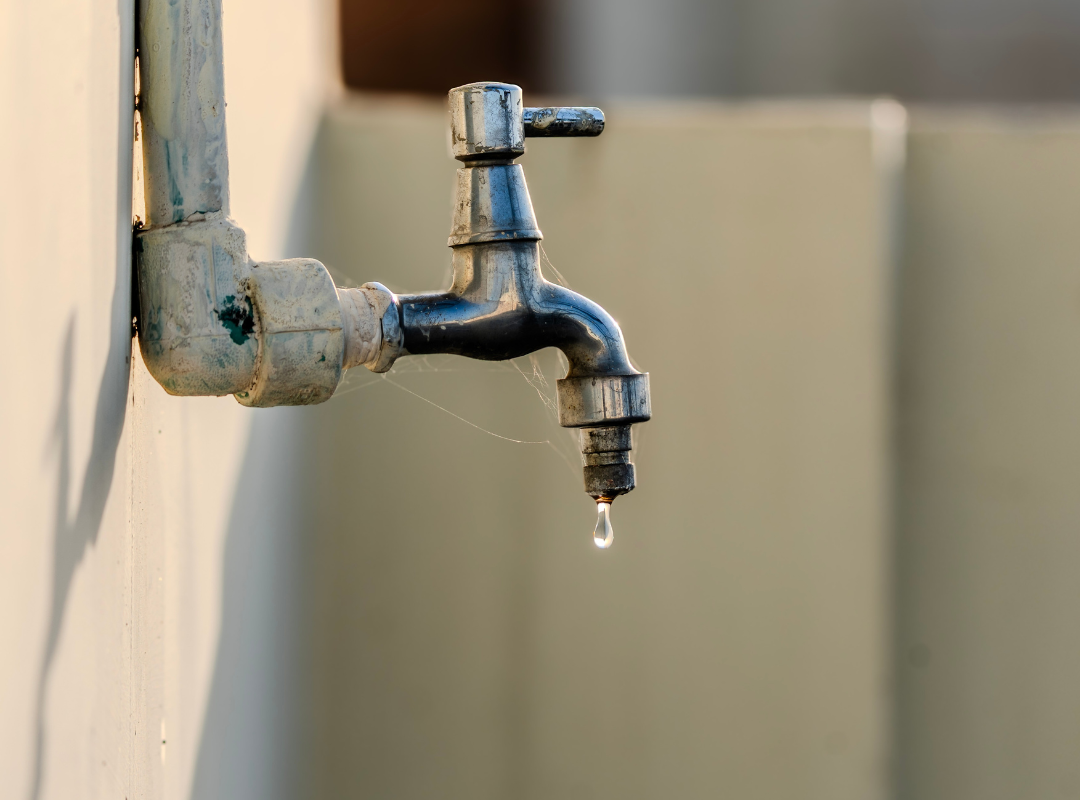
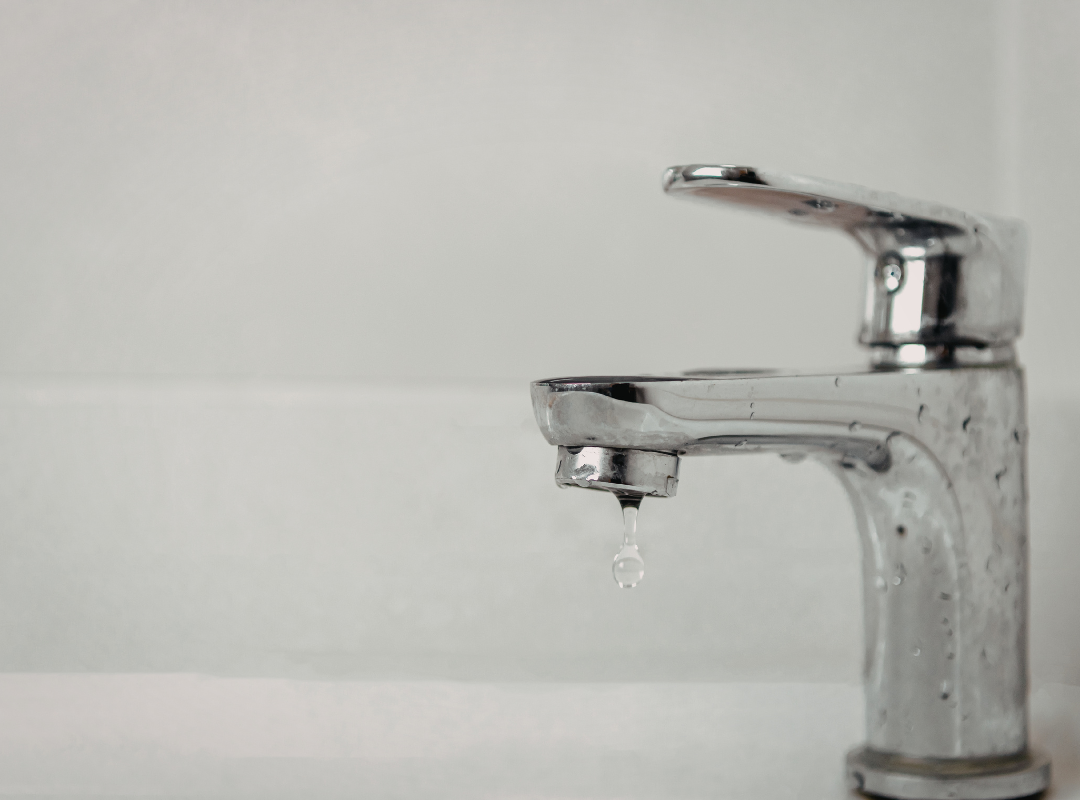
A leaky faucet is one of those small problems that turns into a constant annoyance. That steady drip wastes water, raises your bill, and over time can wear down parts inside the faucet body. In many Tennessee homes, this issue comes from normal wear rather than a major plumbing fault. The good part is that most cases can be handled with basic tools and a careful approach. At Tommie’s Plumbing, we deal with dripping faucet issues every day. The fix usually comes down to identifying the right part and replacing it properly.
What Causes a Leaky Faucet?
Before jumping into the repair, it helps to understand the most common cause. Inside your faucet, there are small components that control water flow. These include washers, O-rings, and the cartridge. When these parts get worn or damaged, water keeps slipping through even when the faucet is off.
A damaged cartridge is often the issue in a single-handle faucet. In older models, worn washers or a loose valve seat may be the reason. Mineral buildup from hard water in parts of Tennessee can also create problems over time. Understanding the root cause helps you decide whether a quick repair or a full faucet leak repair solution approach is needed.
How to Fix Leaky Faucet Step by Step?
Fixing a leaky faucet starts with preparation. You need a flathead screwdriver, an adjustable wrench, and the correct replacement parts. These are easy to find at a local hardware store.
Step 1: Shut Off the Water Supply
Always begin by turning off the water supply under the sink. Look for the shut valves and turn them clockwise. Turn on the faucet to drain any remaining water in the lines. This step prevents a mess and keeps the repair safe. Following a structured faucet repair services guide ensures you don’t miss important steps during the process.
Step 2: Remove the Faucet Handle
The faucet handle covers the internal components, so it needs to come off first.
- Locate the decorative cap on top of the handle
- Pry it off gently using a flathead screwdriver
- Unscrew the handle screw and lift the handle
Set each part aside in order so you can put them back correctly. This makes reassembly easier.
Step 3: Access the Cartridge or Valve
Once the handle is off, you will see the retaining nut or valve assembly.
Use a wrench to loosen the retaining nut. After removing it, pull the cartridge straight up. Some cartridges may feel stuck due to buildup. A gentle twist can help loosen it.
Take note of the position before removing it. This helps when putting the replacement in the exact direction.
Step 4: Inspect and Replace Worn Parts
Check the cartridge, O-ring, and washers for signs of wear. Cracks, tears, or rough edges are clear signs that replacement is needed.
In many cases, replacing the entire cartridge is the easiest fix. This is especially true for brands like a Delta faucet, where cartridges are designed for quick replacement.
Make sure the new part matches the old one. Bring the original to the store if needed to avoid guessing. When choosing replacement parts, many homeowners choose faucet repair services to avoid compatibility mistakes.
Step 5: Reassemble the Faucet
Insert the new cartridge in the correct position. Tighten the retaining nut securely, but do not over-tighten. Reattach the faucet handle and screw. Push the decorative cap back into place.
Turn the water supply back on slowly. Test the faucet by running both hot and cold water. Check for leaks around the handle and spout.
If the dripping faucet has stopped, the repair is complete.
Can You Fix a Leaky Faucet Yourself?
Yes, in most cases, you can fix it yourself if you are comfortable using basic tools. Replacing a cartridge or washer is a straightforward repair. Many homeowners in Tennessee handle this without needing a plumber.
That said, if the faucet body is cracked or if the leak continues after replacing parts, the issue may be deeper. At that point, it is better to call a professional. We often see cases where repeated DIY attempts lead to stripped screws or damaged threads. In many cases, following proper faucet leak repair solutions can resolve the issue without professional help.
What If the Faucet Still Leaks?
If the leak does not stop after replacing the cartridge or washers, there are a few possibilities.
- The valve seat may be worn or corroded
- The replacement part may not be the exact match
- There could be a buildup inside the faucet body affecting the seal
In these cases, further repair or even replacing the entire faucet may be required. This is where we step in at Tommie’s Plumbing to provide a proper fix without causing damage to surrounding pipes.
When Should You Replace the Entire Faucet?
Sometimes, repair is not the best solution. If your faucet is old, has repeated leaks, or shows visible damage, replacement is more practical.
A new faucet improves water flow, reduces future maintenance, and can update the look of your sink. Installation is not overly complex, but it does require careful handling of connections to avoid leaks.
If you are unsure, we can help you determine whether repair or replacement makes more sense for your situation.
How to Prevent Faucet Leaks?
Once your faucet is fixed, a little maintenance goes a long way.
- Avoid turning handles too tightly when shutting off water
- Clean mineral buildup from the spout and handle regularly
- Replace small parts like washers before they fully wear out
These simple habits help extend the life of your faucet and reduce the chance of another leak.
At Tommie’s Plumbing, we always remind homeowners that small preventive steps can save time and money down the road.
When to Call a Plumber for a Leaky Faucet?
There are situations where professional help is the better option. If you notice leaks under the sink, difficulty removing parts, or water pressure issues, it is time to call a plumber.
Also, if you do not have access to the right tools or cannot identify the problem clearly, it is safer to get expert help. Plumbing systems can be sensitive, and one wrong move can lead to bigger repairs. We handle these repairs regularly at Tommie’s Plumbing, and our goal is always a clean, lasting solution.
Conclusion
Knowing how to fix leaky faucet problems gives you control over a common household issue. Start by shutting off the water supply, then carefully remove the handle and inspect the internal parts. Replacing a worn cartridge or O-ring often solves the problem.
Keep your approach simple and avoid forcing parts. If the leak continues or the faucet shows signs of damage, professional service is the right move. A proper repair keeps your plumbing system running smoothly and prevents waste.
Need Help Fixing a Leaky Faucet?
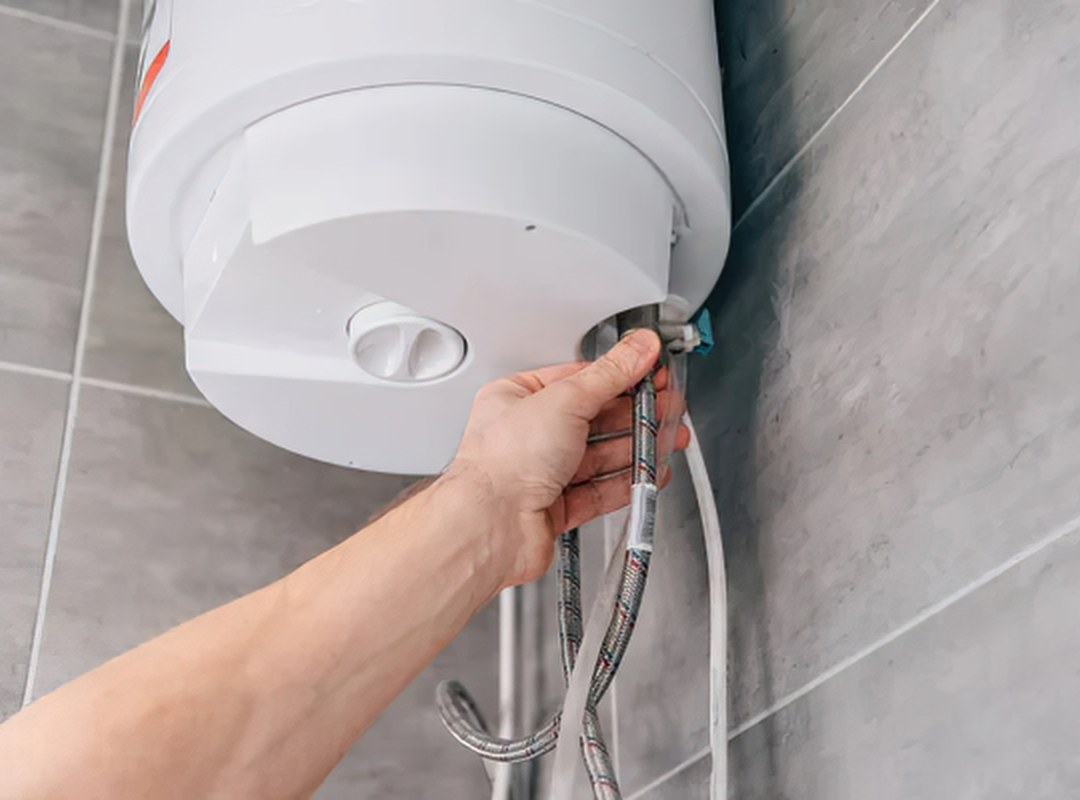
If your faucet keeps dripping or you want a reliable repair, we are here to help. At Tommie’s Plumbing, we offer faucet repair, full plumbing service, leak detection, and fixture replacement across Greenville, TN. We also offer water heater services along with drain cleaning in Tri-Cities, TN.
Call us at (423) 638 3662 or visit us at 1665 East Andrew Johnson Highway, Suite 1, Greeneville, TN 37745. We handle everything from small leaks to complete plumbing fixes. Contact us now!
FAQs
Below, we’ve addressed some commonly asked questions about leaky faucet fixes.
How do I stop the faucet from dripping?
Turn off the water supply, remove the handle, and replace the worn cartridge or washer. This usually stops the dripping faucet.
Can you fix a leaky faucet yourself
Yes, many homeowners can fix it using basic tools and the correct replacement parts. Just make sure to shut off the water before starting.
What is the most common cause of a leaky faucet?
The most common cause is a worn cartridge or damaged washer that no longer creates a proper seal.
Can I fix a dripping tap myself?>
Yes, a dripping tap can often be fixed by replacing internal parts like the O-ring or cartridge.
Does Tommie's Plumbing serve Greenville, TN, for faucet re
Yes, we provide faucet repair and full plumbing services in Greenville, TN, including fixing leaks, replacing faucets, and handling water flow issues.