If you are wondering how to repair a leaking faucet, start by locating exactly where the water appears and checking whether the faucet can be safely shut off. A drip from the spout, water around the handle, and moisture beneath the sink can point to different problems. Some simple checks may help you understand what is wrong, but the right repair depends on the faucet design and the condition of its parts.
Request help with a leaking faucet
Where is the faucet leaking?
Before taking anything apart, dry the faucet and the area around it with a towel. Turn the water on briefly and watch where moisture first appears. A leak can run along a fixture before it drips, so the place where you see a puddle is not always the source.
- Water from the spout while the faucet is off: A worn internal seal, cartridge, washer, or valve component may be preventing the water from shutting off fully. The exact part depends on the faucet.
- Water around a handle: A seal or cartridge may be worn, loose, or damaged. Check whether water appears only when the handle is moved or also when the faucet is off.
- Water at the base of the faucet: The faucet may be leaking where it meets the sink, or water may be spilling down from the handle or spout. Dry the area and observe it while the faucet runs.
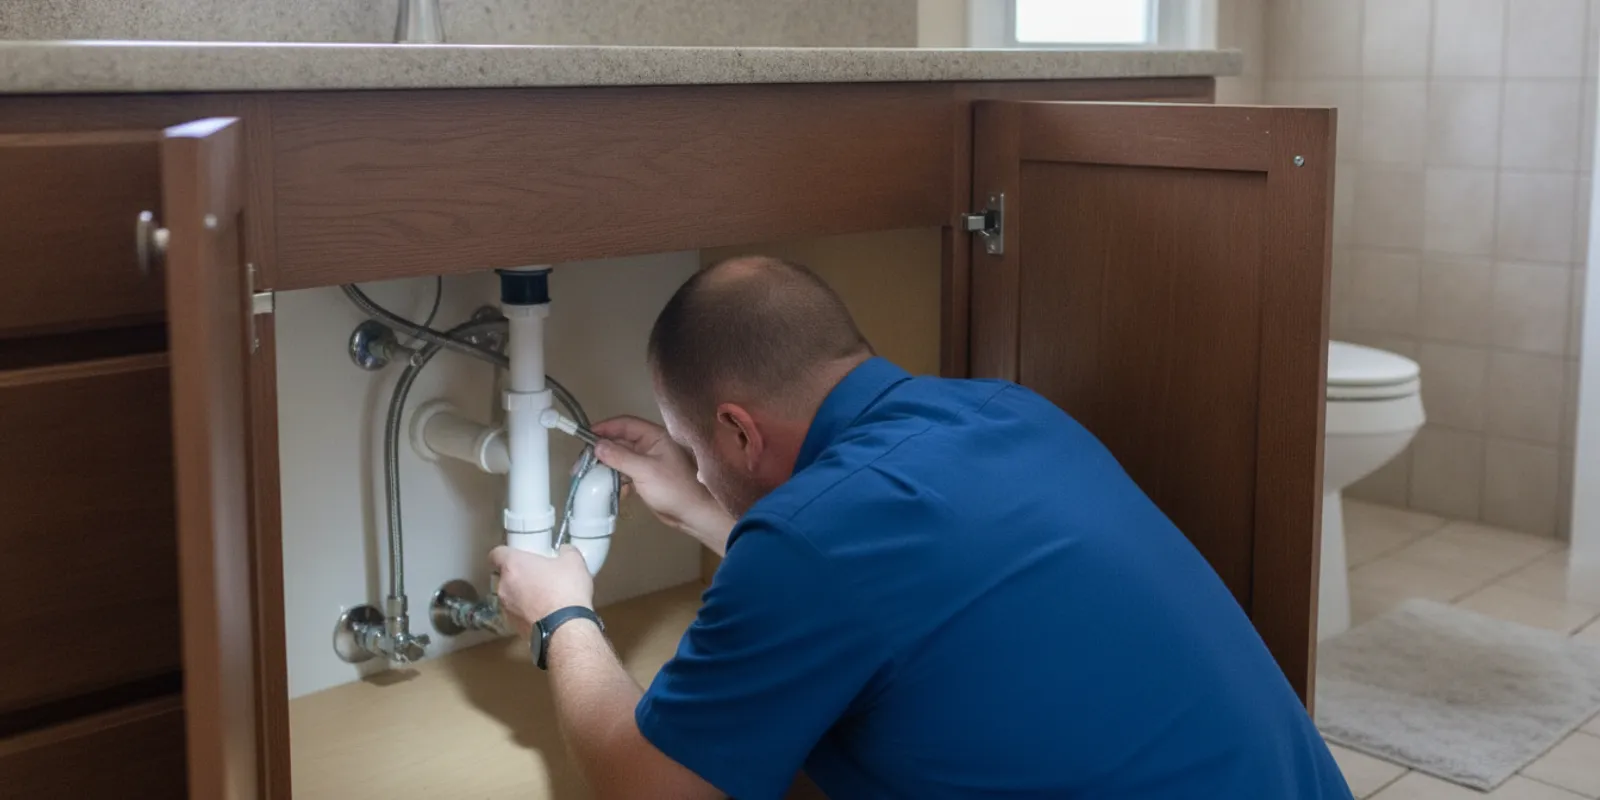
- Water beneath the sink: Look for moisture at the supply connections, shutoff valves, faucet mounting area, and drain. A supply leak needs prompt attention because it can continue even when the faucet is not being used.
Do not assume that every wet spot is caused by the faucet. Water can travel along a hose, sink surface, or cabinet before collecting elsewhere. If you cannot identify the source, or water is actively spreading inside the cabinet, shut off the supply if it is safe to do so and seek help.
To narrow down the location, dry the faucet and cabinet again, then run cold water briefly and turn it off. Repeat with hot water, watching the spout, handles, base, and visible supply connections each time. If the area stays dry until the faucet runs, note that detail. If moisture appears even while the faucet is off, a connection or shutoff may be involved. Avoid reaching into a wet cabinet if there are electrical devices or cords nearby.
It can help to distinguish a leak that occurs only during use from one that continues all the time. A faucet that drips from the spout after the handle is fully closed suggests water is passing through the valve area. Moisture that appears around a handle only while water is flowing may come from a seal that is exposed to pressure during use. Water under the sink that continues when the faucet is off can point to a supply line, valve, or connection rather than the faucet’s spout mechanism. These clues help guide an inspection, but they do not confirm which part has failed.
Check whether the leak changes when you use the hot side, the cold side, or both. If one handle controls both temperatures, make a note of the position where the leak appears instead. Keep the test brief and avoid repeatedly running water if it is escaping into a cabinet. A short observation is enough to record the conditions; prolonged testing can add water to an already wet area.
What should you do before trying a repair?
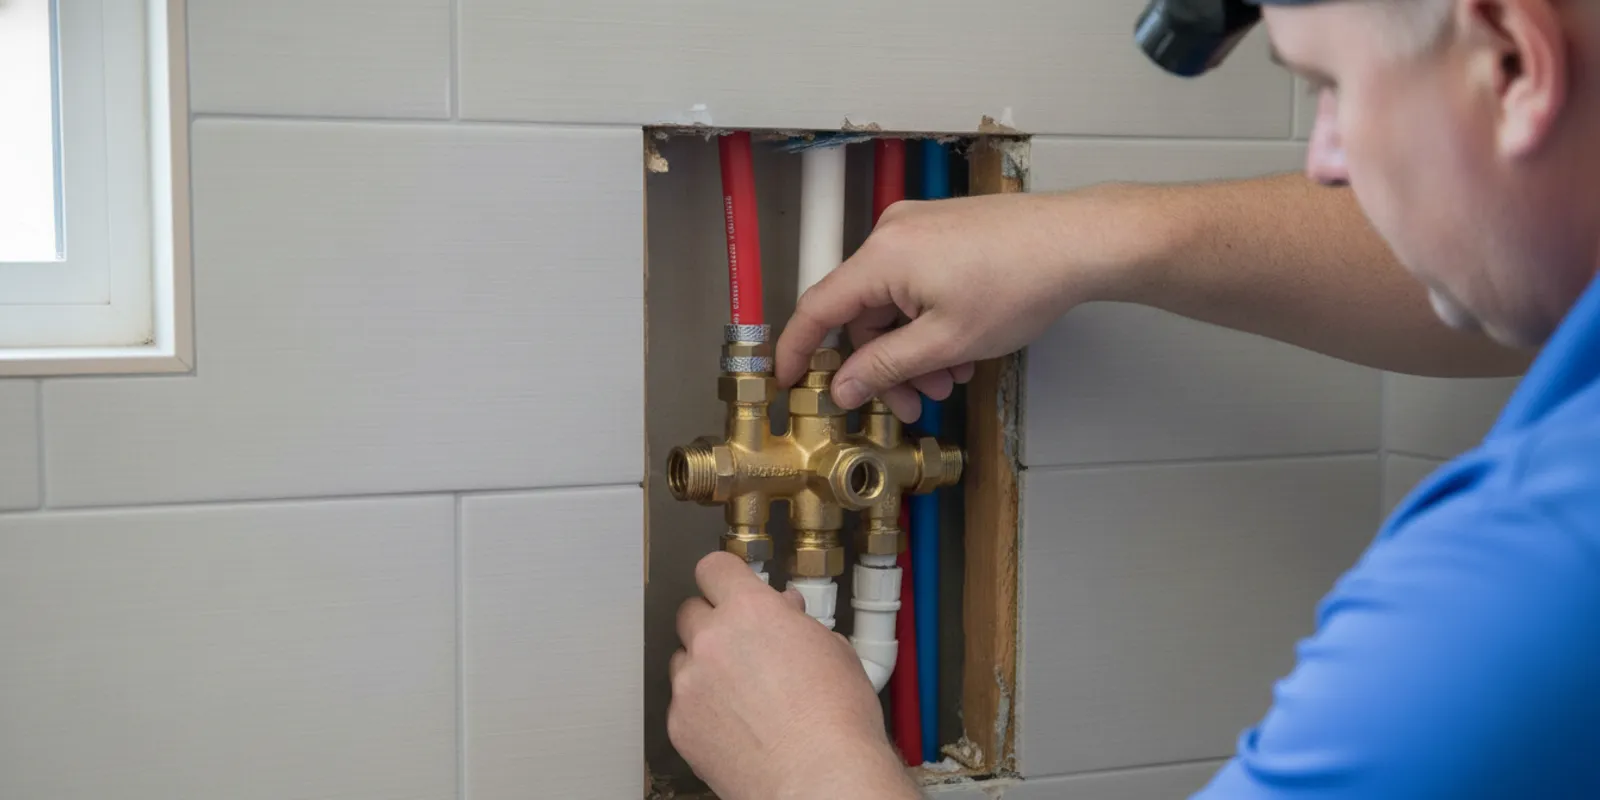
First, clear the space under the sink and identify the shutoff valves that serve the faucet. They are commonly located on the hot and cold supply lines. Turn the handles gently clockwise to close them, then open the faucet to release pressure and confirm that the water has stopped. Do not force a valve that is stuck, corroded, or leaking. If the local shutoffs do not work, use the home’s main water shutoff only if you know where it is and can operate it safely.
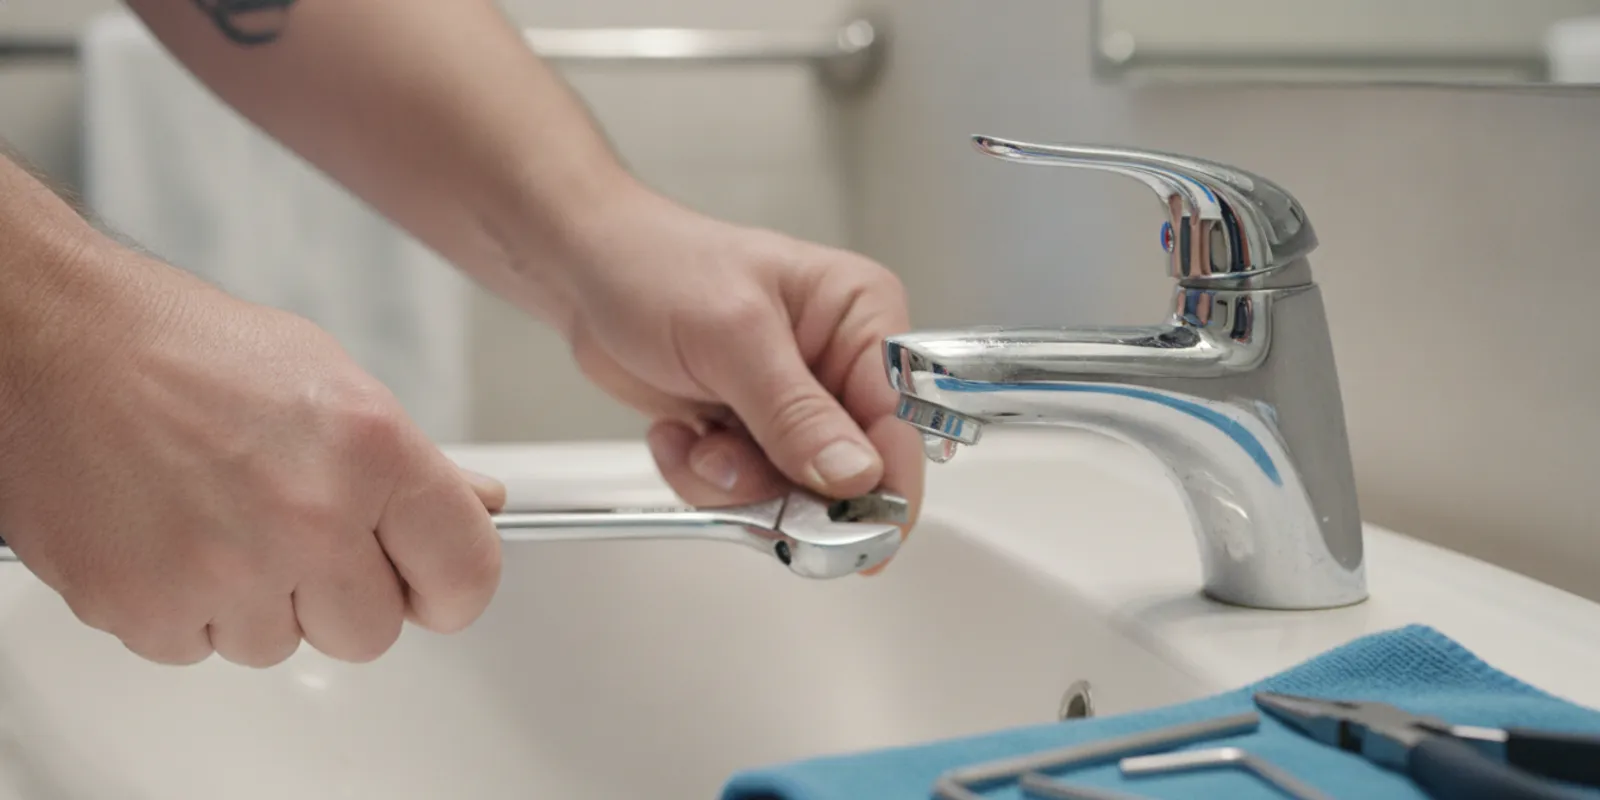
Close or cover the sink drain so a small screw or clip cannot disappear. Lay a towel in the basin to protect the finish and catch loose parts. Take a few clear photos of the faucet and each stage of disassembly. Keep small pieces in order, and avoid mixing parts from different handles.
Find the faucet’s brand and model if possible. A label, receipt, installation paperwork, or manufacturer information may help identify the correct replacement part. Faucets that look similar can use different cartridges, seals, clips, or handle assemblies. Do not buy a part based on appearance alone if you cannot confirm that it fits.
Before starting, consider what you can safely manage if the repair does not go as planned. Make sure you can reach and operate the shutoff, keep the work area dry, and have enough light to see the assembly. Avoid beginning a disassembly when you need the sink immediately or cannot leave the water off if a part breaks. If the faucet serves a household that cannot easily go without water, arrange a suitable time or get help rather than rushing the job.
Gather only the tools specified by the manufacturer’s instructions. A correctly sized screwdriver or hex key can reduce the chance of damaging a fastener. A soft cloth can protect a finished surface, while a small container can keep screws and clips together. Do not assume that more leverage is better. Pliers can mar decorative finishes, round a small fastener, or twist a fixture that is not meant to turn.
How does faucet design affect the repair?
There is no single repair procedure that works for every faucet. A compression faucet typically uses separate handles and washers or seals that press against a valve seat. Cartridge faucets use a removable cartridge to regulate water flow and temperature. Ball-style faucets have a rounded control mechanism with several small seals, while ceramic-disc designs use a cartridge or disc assembly. These are broad design clues, not a guarantee of what a specific fixture contains.
One handle may control both hot and cold water, while another faucet has separate handles. The handle shape does not always tell you which internal design is present. If you remove a handle and are not sure what you are looking at, pause and compare the parts with the manufacturer’s instructions. Forcing a retaining clip, cartridge, or handle can crack the fixture or make a small leak worse.
For more context about faucet problems and repair options, see Tommie’s information on faucet repair in East Tennessee. A plumber can inspect the fixture and identify the parts before recommending a repair.
Knowing the faucet style matters because it determines both what you inspect and which replacement parts are appropriate. A compression-style faucet may have a washer that is visibly worn, but a dripping spout can also involve the valve seat or another internal surface. Cartridge faucets may need a cartridge matched to the fixture’s manufacturer and model. Some assemblies also have orientation tabs or alignment marks that must be set correctly for the handle to work as intended.
Do not treat an online picture of a similar faucet as a parts guide. The outside design may be shared by models with different internal assemblies, and a previous owner may have replaced the fixture without keeping the paperwork. If the manufacturer instructions are unavailable or do not clearly match what you see, stop before removing internal components. A photo and the visible brand or model information can help a plumber identify the fixture without further disassembly.
What basic checks can a homeowner make?
If the shutoff valves work and the leak is small, a careful visual check can help narrow down the issue. Keep the water off while examining parts. Follow the manufacturer’s instructions for your exact faucet whenever you disassemble it.
- Remove the handle only if it comes off readily. Look for a visible screw or cap, and use the correct screwdriver or hex key. Protect finished surfaces with a cloth. If the handle is seized or the fastener begins to strip, stop rather than applying more force.
- Look for a loose or damaged component. Check for a cracked handle, missing clip, visibly worn seal, or mineral buildup. Do not scrape or pry against a finished valve body.
- Check the manufacturer’s repair guidance. Confirm the faucet model and the recommended part. If the instructions call for a special tool or you cannot identify the assembly, arrange an assessment instead of guessing.
- Reassemble in the correct order. Keep the parts aligned as they were and do not overtighten. Once the handle is back in place, open the shutoff valves slowly and watch the area for new moisture.
A faucet that drips from the spout may need a replacement seal or cartridge, but changing the visible part is not always enough. A worn valve seat, damaged housing, debris, or an incorrect replacement part can cause the leak to return. If the faucet still drips after a reasonable, manufacturer-directed repair, stop repeating the same attempt and have the source assessed.
After putting a faucet back together, open the shutoff valves slowly rather than turning them on abruptly. Check beneath the sink and around the fixture before and after running water, since a small leak may show up only under flow. Test the handles through their normal positions and confirm that the faucet shuts off. If water appears at a connection or handle, close the supply again if the valve works and do not keep tightening parts without knowing how they are designed to seal.
Pay attention to how the parts fit as they come apart. A phone photo at each stage can be more useful than one photograph of the completed fixture because small pieces may have a specific order or orientation. Put removed parts on a clean towel in the same sequence. If a spring, clip, or seal seems to have come loose unexpectedly, do not guess at its position; consult the model-specific diagram before continuing.
Inspect the removed piece only for visible damage, such as a split seal, broken plastic, or heavy buildup. A component may appear intact and still fail to seal, so visual condition alone is not a reliable test. Avoid sanding, cutting, or reshaping parts. Replacing a worn component with a correct part is different from modifying the valve body, and improvisation can create a larger leak or make later service more difficult.
When installing a replacement component, use the part number and installation direction given by the manufacturer. Do not apply lubricant, tape, or sealant unless the faucet instructions specifically call for it at that location. A seal may rely on a particular clean surface and fit; adding an unapproved material can prevent it from seating correctly. If the replacement will not fit with gentle, even pressure, stop and verify that it is the exact part rather than forcing it into place.
Once a repair is complete, test in stages. Open the local shutoffs slowly while watching them and the supply lines. If they remain dry, run a small stream of cold water, turn it off, and check again. Repeat with hot water if the faucet arrangement allows it. Then check the faucet base, handle area, and cabinet floor after several minutes. A dry first test is encouraging, but a second check can reveal seepage that was not immediately visible.
How do you decide whether to attempt a repair or call for help?
A reasonable do-it-yourself check is limited in scope: you can identify the leak location, confirm that the water can be shut off safely, gather the model information, and follow clear manufacturer instructions for a simple component replacement. The risk increases when the faucet is old or corroded, access is tight, the shutoff valve does not work, or parts do not match the guide. In those cases, the sensible choice is not to keep experimenting. Stop while the water is controlled and ask a plumber to assess the fixture.
Think about the consequences of an unsuccessful repair, not only the apparent size of the drip. A spout drip may stay contained in the basin, while a loose supply connection beneath a sink can wet a cabinet or floor out of view. If you cannot check the area regularly, if the cabinet is already damp, or if the shutoff is uncertain, do not leave the faucet partly disassembled or hope the leak will stop on its own. Close a working valve and get assistance with the next step.
There is also a difference between making a faucet stop dripping for the moment and confirming that the underlying problem is resolved. A handle that has to be forced into a certain position, a leak that shifts to another location, or recurring moisture after a repair are signs that the repair has not been properly verified. Do not tighten the handle harder or repeatedly replace parts without identifying why the water is still escaping.
When should you stop and call a plumber?
Some repairs are straightforward when the correct part is known and the shutoff valves work. Others can turn into a larger problem if an old fitting breaks or water cannot be isolated. Stop and get help if any of these conditions apply:
- A shutoff valve is stuck, corroded, damaged, or leaking when you try to use it.
- Water is coming from a supply line, connection, or inside the cabinet and will not stop.
- The faucet body, handle, mounting hardware, or sink appears cracked or badly corroded.
- You cannot identify the faucet type or the correct replacement part.
- A cartridge or handle will not come out with gentle, appropriate effort.
- The leak continues after reassembly, shifts to another location, or becomes worse.
- You are uncomfortable shutting off the water or working near the sink’s plumbing connections.
Do not use pliers directly on a finished faucet surface, force a stuck valve, or leave a partly disassembled faucet connected to water. If a leak is active, contain the water with towels or a container while you close a working shutoff valve. If the water is near electrical equipment or is causing damage, prioritize safety and contact the appropriate professional promptly.
Call for help promptly when a leak is beyond a controlled drip or when it is spreading into a cabinet, wall, or floor. If you can safely reach a functioning local shutoff, close it; if not, do not risk injury or damage by forcing it. Keep people away from a wet area near electrical items, and avoid using the sink until the source is addressed. The important first step is to limit further water while keeping yourself safe, not to complete a repair under pressure.
Pay attention to the difference between a valve that is merely difficult to turn and one that begins to leak, bend, or make a connection move as you operate it. Do not keep turning a valve that shows those warning signs. An old shutoff may itself need attention, and working on it without a reliable way to stop the supply can leave water uncontrolled. Tell the plumber what happened when you tried to close it.
Tommie’s Plumbing serves homeowners in Northeast Tennessee. If you are in Fall Branch, you can read about the company’s plumbing service area in Fall Branch. For a broader overview of repair and installation work, visit the page on plumbing services in East Tennessee.
When is repair more practical than replacing the faucet?
A leak does not automatically mean that the whole faucet needs to be replaced. If the fixture is in sound condition and the manufacturer has a matching replacement part, a targeted repair may address the problem. The decision depends on the leak source, the condition of the faucet body and connections, the availability of compatible components, and whether prior repairs have lasted. A plumber can explain what appears to be damaged and whether repair or replacement is appropriate for that specific fixture.
Replacement may be worth discussing if the faucet body is cracked, badly corroded, or no longer holds a seal, or if the correct internal part cannot be identified or obtained. Repeated leaks after attempted repairs are also a reason to reassess rather than continue swapping components. These are not automatic rules: the fixture’s age alone does not establish that it must be replaced, and a newer faucet can still have a repairable part failure.
Ask what the inspection found and which facts support the recommendation. For a repair, that may include the failed component and whether a matching part is available. For replacement, ask whether the existing faucet connections and sink opening are compatible with the proposed fixture, and whether the work includes checking the supply connections. Understanding the reason for the scope helps you compare options without assuming that the most extensive work is always necessary.
If you prefer a particular handle style, finish, or operating control, mention that before approving a replacement. A faucet is used daily, and comfort and ease of operation matter alongside stopping the leak. If you are considering keeping the existing fixture, ask whether replacement parts remain available and whether the faucet’s condition makes a repair a reasonable option. The appropriate choice is the one that addresses the cause and suits the fixture, not simply the one that looks easiest at first glance.
How can you prepare before asking for service?
A few details can make it easier to explain the problem and understand the next step. Note whether the leak occurs with the faucet on, off, or only when a handle moves. Describe where the water first appears, how often it drips, and whether the leak changes when you close the hot- or cold-water shutoff. If water is beneath the sink, say whether it seems to come from a supply connection, the faucet mounting area, or the drain.
Take photos of the faucet, the area beneath the sink, and any model information you can find. Mention any earlier repair attempts and whether a part was replaced. Do not remove parts just to provide a photo if doing so could leave the water uncontrolled or damage the fixture.
Ask what the inspection will cover, whether the faucet can likely be repaired or may need replacement, and whether any other parts appear worn. The appropriate recommendation depends on the fixture’s condition, access, available replacement parts, and the source of the leak. A clear explanation helps you decide what work to approve.
Before a service visit, clear stored items from beneath the sink if it is safe to do so, and keep the area accessible. If you have shut off a valve, tell the plumber which one and whether the faucet stopped dripping afterward. Share any concerns about water near an outlet or appliance, and say if the leak is still active. This information helps describe the immediate situation without requiring you to take the faucet apart.
It can also help to write down the faucet’s visible brand name, approximate age if known, and whether it has one handle or separate hot and cold handles. Do not rely on an estimate of age as a diagnosis, but those details can help identify likely parts. Keep any receipt, manual, or packaging you still have available. If you have already bought a replacement part, show its label and packaging rather than installing it if you are uncertain that it matches.
When you request service, ask the plumber to explain what the leak source appears to be, what repair options are available, and whether there are any limitations because of the faucet’s condition or part availability. The company describes its plumbing experience as more than 30 years of trade experience. You can review general information about Tommie’s Plumbing on its about page, and use the service request page to request an appointment.
To arrange an assessment, use the service request page or contact Tommie’s Plumbing. The company also has more than 30 years of plumbing trade experience, as described on its about page.
Contact Tommie’s Plumbing about your faucet leak
Frequently asked questions
Can I keep using a faucet that drips?
A small spout drip may not require shutting off the whole home’s water, but it can waste water and may signal a worn internal part. A leak at a supply connection or beneath the sink is different because it can damage the cabinet or floor. Monitor the source, close a working local valve if needed, and arrange help if the leak is active or worsening.
Should I replace the washer or the whole faucet?
That depends on the faucet design and the condition of its internal parts and body. Some faucets can be repaired with an appropriate washer, seal, or cartridge. If the body is damaged, compatible parts are unavailable, or repeated repairs do not stop the leak, a plumber can explain whether replacement is a better option.
Why does my faucet still leak after I replace a cartridge?
The replacement may not match the faucet, the cartridge may not be seated correctly, or another part may be damaged or worn. Debris or a problem with the valve body can also prevent a proper seal. Turn the water off before checking anything and avoid forcing the assembly; if the leak persists, have the faucet assessed.
Can I use penetrating oil or pliers on a stuck handle?
Be cautious. A product or tool that is not suitable for the faucet’s finish or materials can damage the fixture, and force can break a handle or valve component. Follow the faucet manufacturer’s guidance. If a handle or fastener will not move with gentle effort, stop and ask a plumber to remove it safely.
What should I do if the local shutoff valve will not close?
Do not force a stuck, corroded, or leaking valve. If you know where the main water shutoff is and can operate it safely, you may use it to stop the supply; otherwise, contact a plumber for help. Tell the plumber that the local valve would not close, and avoid taking the faucet apart while water cannot be isolated.
Finding the source before taking the faucet apart helps you avoid unnecessary work and makes it easier to decide whether a simple check is appropriate or professional help is needed. If the leak is difficult to trace, the shutoff does not work, or water keeps returning after a repair, contact a plumber for an assessment.