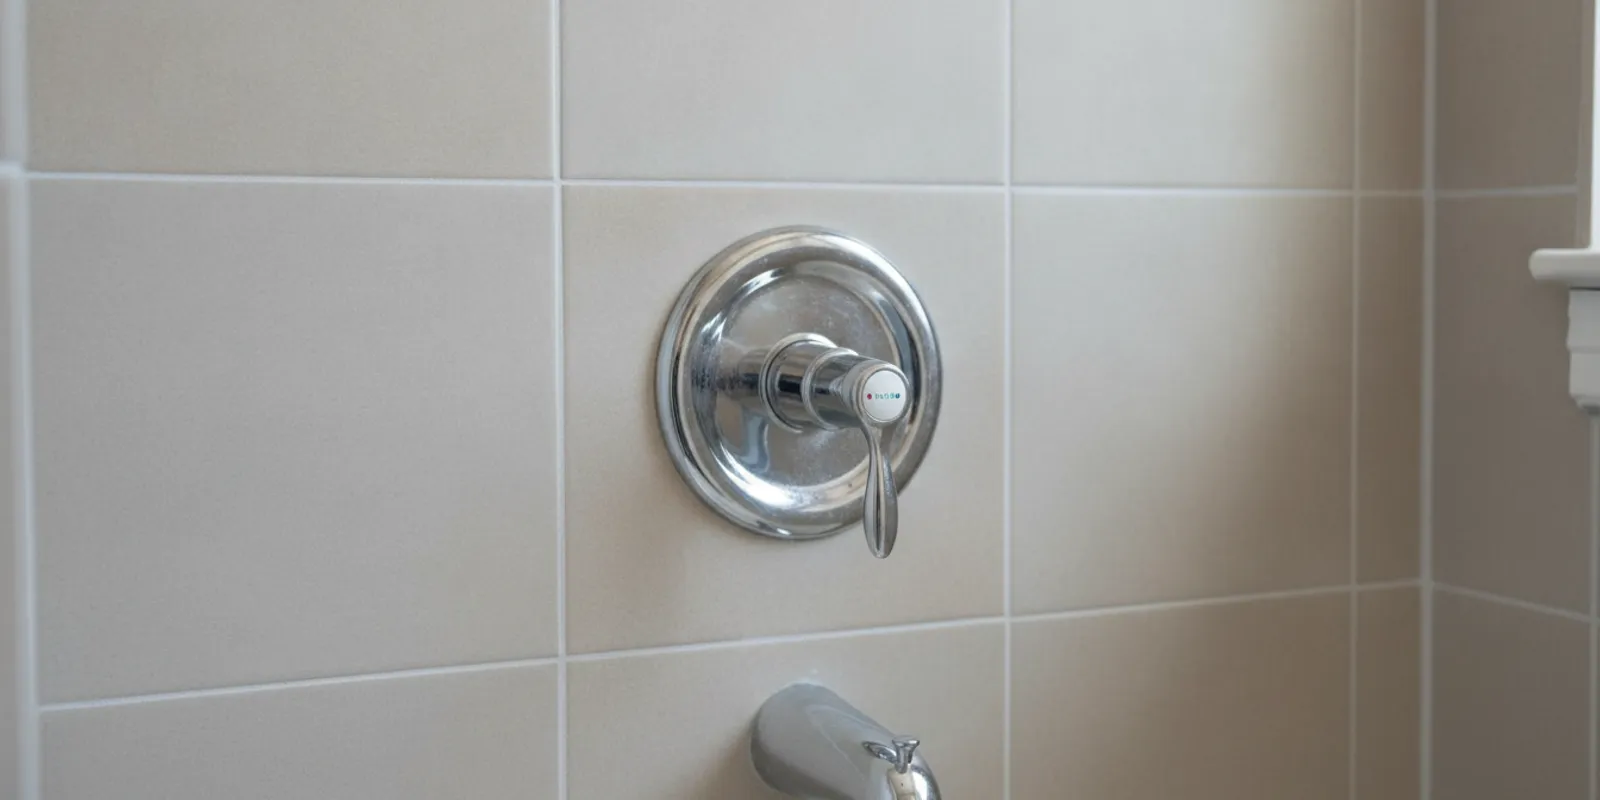
Shower valve replacement cost depends on more than the price of a new valve. The type of valve, access behind the shower, the condition of nearby plumbing, and any finish work can all affect the scope. If you are planning a repair in the Tri-Cities or elsewhere in Northeast Tennessee, understanding these factors can help you discuss the work clearly without guessing at a price before the valve is inspected. If your project also involves the drain, review Tommie’s shower drain installation services for related planning information.
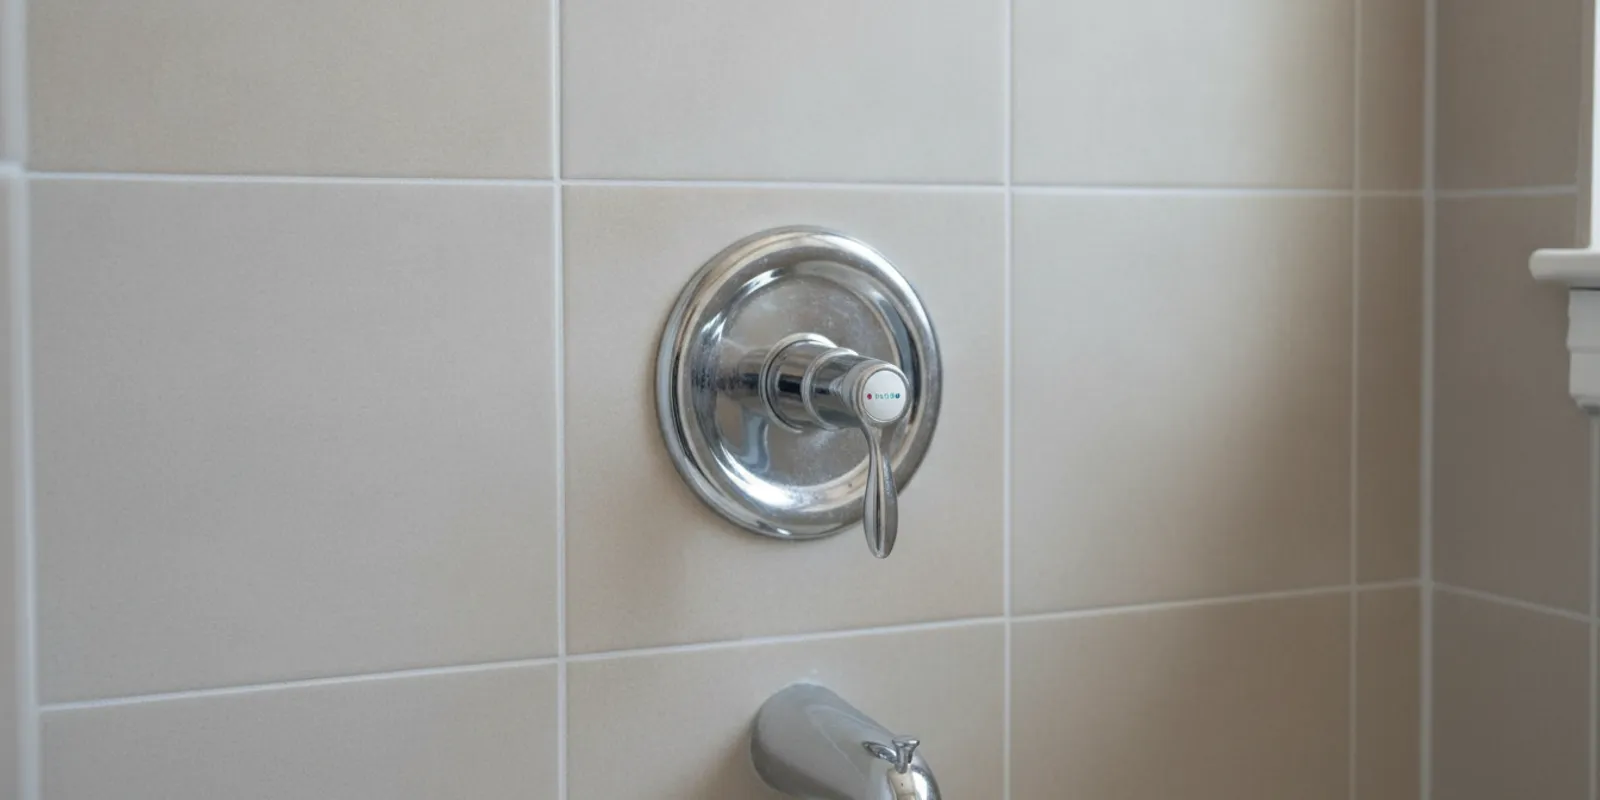
What does a shower valve do?
The shower valve controls water flow and, in many setups, adjusts the mix of hot and cold water. The visible handle and trim are only part of the assembly. The valve body sits inside the wall and connects to the supply lines and shower outlet. Changing a handle or trim plate is therefore not necessarily the same job as replacing the valve itself.
A homeowner may notice a handle that is difficult to turn, water that continues to drip after the shower is shut off, or trouble controlling temperature. Those symptoms can have more than one cause. A worn cartridge or another serviceable part may be responsible, while damage or corrosion in the valve body may call for a different repair. A symptom is useful evidence, but it does not by itself identify the failed component.
That distinction helps make sense of an estimate. A quote for an internal part repair and a quote for removing the valve body may cover very different labor, materials, and access work. Before comparing totals, ask what component the plumber believes is causing the problem and what work the proposed amount includes.
Why can shower valve replacement cost vary?
An estimate reflects the work needed at a particular home, not just a part number. These details commonly shape the scope:
- Valve design and compatibility. Existing valves differ in construction and available replacement parts. The correct part depends on the installed model and the condition of the assembly. A replacement also needs to fit the shower’s configuration and trim plan.
- Access to the valve. A valve may be reachable through an existing access panel or from an adjacent space. In other cases, reaching it may involve opening a section of wall or tile. The location and finish affect how the work can be approached.
- Condition of connections. The plumber may need to assess supply connections and nearby piping. Damaged, corroded, or incompatible components can change the amount of repair required.
- Extent of replacement. The work could involve a replaceable internal component, the valve body, or related sections of piping and trim. These are distinct scopes, so a quote should make clear which one is proposed.
- Finish restoration. Plumbing work and wall repair are separate considerations. Ask whether any tile, drywall, or paint work is included, excluded, or expected to be handled by another trade.
- Additional plumbing concerns. A leak or water damage around the valve may require further evaluation. The visible symptom alone cannot show how far moisture has traveled or whether another plumbing issue is involved.
These factors interact. For example, a compatible valve might be available, but a tight installation location can make access more involved. Or an accessible valve may still need a broader repair if its connections are in poor condition. An on-site evaluation connects the visible symptoms with the actual assembly and work area.
Tommie’s Plumbing describes estimates as on-site evaluations with Good, Better, and Best options. Ask the plumber to explain what each option addresses, whether parts and testing are included, and whether finish restoration is part of the proposal. There is no responsible way to assign a specific amount without knowing the valve, access, and repair conditions.
Can the valve be repaired instead of replaced?
Sometimes a serviceable component, such as a cartridge, can address the problem without replacing the full valve body. In other situations, the valve may be damaged, parts may not suit the existing assembly, or a broader repair may be the practical option. There is no reliable way to choose between repair and replacement from a symptom alone.
It can help to describe exactly what is happening. Note whether the shower drips only after use or continuously, whether the handle feels loose or stiff, and whether the water temperature changes unexpectedly. If you can identify the fixture brand or model from existing paperwork, share that information, but do not remove parts just to find a label. A plumber can inspect the assembly and explain what appears repairable.
For related planning questions about another bathroom fixture, see our faucet replacement guidance. The costs and work are not interchangeable, but the same principle applies: compare the described scope, not just a headline number.
What should an estimate explain?
Before approving work, make sure you understand the proposed repair. A useful estimate discussion should clarify the suspected problem, the work included, and what could change if conditions inside the wall differ from what is visible. These questions can make the conversation more specific:
- Is the proposed work a cartridge or component repair, or replacement of the valve body?
- What signs during inspection support that recommendation?
- How will the valve be accessed, and will opening a wall or tile be necessary?
- Are the replacement valve and trim compatible with the existing shower setup?
- Does the estimate include related pipe connections, testing, and cleanup?
- Is wall or tile restoration included, excluded, or outside the plumbing scope?
- What conditions could require a change in the work, and how will that be discussed before proceeding?
- Are there options with different scopes, and what does each option resolve?
Ask for the answers in plain language. If an estimate uses terms you do not recognize, request an explanation before deciding. You should be able to tell whether the recommendation addresses the current leak or control problem, what the plumber plans to do, and what is not included. It is also reasonable to ask how the plumber will test the shower after the repair and what you should watch for once it is back in use.
How can you compare estimates fairly?
Two estimates are useful to compare only when they describe similar work. One may cover a replaceable internal part, while another proposes a full valve replacement and access work. A lower total does not necessarily mean the same repair is being offered. Ask each provider to identify the proposed component, access plan, included materials, testing, and exclusions.
| Estimate detail | What to check |
|---|---|
| Diagnosis | Does it explain the observed symptom and the part believed to be causing it? |
| Repair scope | Does it identify a component repair, valve-body replacement, or related pipe work? |
| Access and finish | Does it describe wall or tile access and state who handles restoration? |
| Testing and completion | Does it clarify how the repair will be checked for leaks and proper operation? |
| Possible changes | Does it explain how unexpected conditions will be reviewed before extra work? |
Here is a simple comparison method. First, underline the exact repair in each estimate: for instance, “replace cartridge” is not the same scope as “replace valve body.” Next, mark whether opening the wall, repairing surrounding pipe, and restoring the finish are included. Then compare the testing and any stated conditions that could change the work. If a detail is missing, ask for clarification rather than treating it as included.
Keep a short written record of the answers. If one estimate recommends a smaller repair and another a full replacement, ask each provider to explain the evidence behind the recommendation. The goal is not to favor the lowest amount or the most extensive job automatically. It is to understand which option addresses the condition found and how its boundaries are defined.
Tommie’s Plumbing provides plumbing repairs and fixture work across its Northeast Tennessee service area. You can review its plumbing services and service-area information when deciding whom to contact.
What can you check safely before service?
A few observations can help explain the problem without taking the shower apart:
- Turn the shower off and note whether water continues to drip from the showerhead or tub spout. Note whether the dripping stops after a short period or continues.
- Notice whether the handle moves normally, feels loose, or becomes difficult to turn. Do not force a stuck handle.
- Check whether the issue happens only at the shower or also at other fixtures. This does not diagnose the cause, but it helps describe the pattern.
- Look for visible moisture or discoloration near the shower, in an accessible adjoining area, or on the floor below. Avoid opening a wall to investigate.
- If water is actively escaping, use an accessible shutoff only if you can identify and operate it safely. If you cannot stop the flow, seek plumbing help promptly.
A brief observation log can be more useful than a guess at the cause. Write down when the drip happens, whether the shower was recently used, whether the handle position changes anything, and whether the symptom is getting worse. If the problem appears only when the shower is running, say so. If a nearby fixture also behaves differently, mention that too. These details help the plumber ask focused questions without turning a homeowner’s observation into a diagnosis.
Avoid removing the handle, trim, or valve parts unless you know the procedure for that exact fixture. A forced or incomplete disassembly can damage components and make the eventual repair harder. If the shower is usable and there is no active leak, write down the symptoms and arrange an evaluation rather than guessing which replacement part to buy.
How can access affect the work?
Access is one reason a valve replacement is difficult to price from a photo or short description. The valve may sit behind a finished shower wall, inside a shared wall, or near an adjacent closet or utility space. An existing access panel can make inspection simpler, but the plumber still needs enough room to work safely and connect the replacement. The configuration varies from home to home.
Ask where access is expected and how the work area will be protected. If an opening is needed, clarify whether the estimate includes only plumbing access or also patching, tile repair, and painting. A plumbing repair can be complete from the water-system perspective while the wall finish still needs separate attention. Confirm who is responsible for each part before the work starts.
If you are considering a change in trim or fixture style at the same time, mention it before the estimate is finalized. The preferred visible finish may affect which valve or compatible parts are appropriate. Do not assume that a new trim kit can be paired with every existing valve body. The plumber can explain whether the proposed parts match the installed assembly and the desired result.
What should you expect during an evaluation?
An evaluation is a chance to connect symptoms with the physical condition of the shower assembly. The plumber may ask how long the issue has been present, check the handle and visible trim, assess whether the water is still running or dripping, and consider how the valve can be reached. If the issue suggests a leak, the surrounding area and accessible connections may also need attention.
Make sure the visit ends with a clear explanation of the next step. You should know whether the plumber recommends a repairable component, valve replacement, or additional investigation. Ask what would trigger a change in scope, how that would be communicated, and whether approval is needed before proceeding with additional work. This helps prevent a vague starting point from becoming a surprise decision during the job.
The evaluation should also distinguish immediate plumbing work from possible finish repairs. If the wall must be opened, ask what will be left exposed when the plumbing work is done and what protection is needed in the meantime. If finish restoration is handled separately, arrange the timing with that trade so the plumbing can be tested and any required access is not closed prematurely.
How do different repair scopes compare?
Thinking in terms of scope can make the word “replacement” less confusing. A shower that drips after shutoff may need attention to a replaceable internal component, while a valve body that is damaged or incompatible with available parts may require a larger intervention. The plumber’s inspection determines which possibility fits the condition; the table below is a conversation aid, not a diagnosis or price list.
| Possible scope | What the work may address | Questions to ask |
|---|---|---|
| Internal component repair | A worn or failed part within an otherwise serviceable valve assembly | Which part is being replaced, and what inspection supports that choice? |
| Valve-body replacement | A problem that cannot be resolved with a suitable internal part, or a damaged body | How will the new body connect to existing lines, and what access is required? |
| Related pipe or finish work | Connections or wall surfaces that need separate attention to complete the job | Which plumbing and restoration tasks are included, and who handles the rest? |
Consider a hypothetical example: one homeowner reports a slow drip and the inspection finds an accessible, compatible service part. The proposed work may be limited to that component, with testing afterward. Another homeowner may have the same visible drip, but the valve is difficult to reach and its connections show damage. The second estimate could include more labor or related work. The symptom sounds similar, yet the condition and access change what a responsible proposal needs to cover.
A second example involves a remodel. If a homeowner wants a different handle style while addressing a sticking control, the preferred trim may not fit the existing valve. The estimate should distinguish the repair needed to restore function from any requested fixture change. That separation helps you decide whether to address the immediate problem now, pursue a compatible upgrade, or ask for another option. It also avoids assuming that trim alone can solve an internal valve issue.
When reviewing any option, ask what result it is intended to achieve and what it does not address. A limited component repair is not automatically inadequate, and a full replacement is not automatically necessary. The recommendation should relate to the observed condition, compatibility, and access. If the plumber identifies uncertainty, ask what additional inspection would resolve it and whether that step changes the estimate.
How can you plan for an unexpected condition?
Work behind a finished wall can reveal a condition that was not visible during the first discussion. Planning does not mean expecting trouble; it means agreeing on how decisions will be handled if the actual assembly differs from what could be seen. Before work begins, ask who will contact you, what information or photos you will receive, and whether work pauses until you approve a revised scope.
For example, suppose the estimate describes replacing a valve body, but the plumber finds that an adjacent connection also needs attention to complete a sound repair. Ask the plumber to explain why it matters, what the proposed additional work includes, and whether there is a safe alternative. You can then compare the revised scope with the original rather than making a rushed decision based on a new total alone. If the newly discovered condition is unrelated to the valve, ask whether it can be documented and discussed separately.
Make sure the written estimate or follow-up clearly distinguishes the original work from any additions. Note changes to the part, access method, finish responsibilities, and testing plan. This record helps all parties understand what was approved and what remains outside the job. It is also useful if a separate tile or drywall professional needs to coordinate access and restoration.
Keep the shower area available until the plumbing work has been checked. If restoration is scheduled separately, confirm that the plumber has finished testing and that no further access is required before the opening is closed. Sequencing matters: finishing the wall too early can make a later plumbing check or adjustment more difficult. Ask the trades to clarify the handoff rather than assuming that one appointment automatically completes every part of the project.
How should you prepare for an appointment?
Clear the area around the shower and make the bathroom accessible. Tell the plumber when the symptom began, whether it has changed, and whether any prior repair was attempted. Mention any water staining or dampness you have noticed beyond the shower enclosure. If you know where the home’s main water shutoff is, make that location known, but do not operate unfamiliar equipment.
It can also help to gather relevant information before the visit. Keep any fixture paperwork or past repair notes nearby, and take a photo of visible trim if it is useful to show the style. Do not remove the handle or cover plate to photograph the valve body. Make a list of your main questions: what failed, what repair is proposed, how the plumber will access it, what is included, and what could change the estimate.
For homeowners in Greeneville, Morristown, Johnson City, Kingsport, Bristol, Elizabethton, and nearby Northeast Tennessee communities, local service details can vary by address. Tommie’s Plumbing has more than 30 years of plumbing trade experience and handles plumbing repairs and fixture work. Learn more about the company’s background and approach, or use its service request page to ask about an appointment.
Frequently asked questions
Is a dripping shower always caused by a bad valve?
No. A drip can come from a worn internal component or another issue in the fixture. Inspection is needed to identify the cause and decide whether a repair or replacement is appropriate.
Does replacing the handle mean the valve has been replaced?
No. The handle and trim are visible parts, while the valve body is inside the wall. Replacing trim alone does not necessarily address a problem with the valve or its internal components.
Will a plumber need to open the shower wall?
Not always. Access depends on the fixture layout, the location of the valve, and whether an existing access point is available. Ask how the plumber expects to reach the assembly and whether finish restoration is included.
Can I get a firm shower valve replacement cost over the phone?
A phone conversation can help clarify symptoms and arrange an evaluation, but it may not establish the exact repair scope. Access, valve compatibility, and the condition of connections can require an on-site assessment.
Does an estimate include tile or drywall repair?
Not necessarily. Ask whether access and finish restoration are included in the written scope, excluded, or assigned to another trade. Confirm this before approving the plumbing work.
Request an estimate for your shower valve
A clear estimate starts with identifying the actual cause and agreeing on the work before it begins. Describe what you are seeing, ask what the proposed repair includes, and choose the option that fits the condition of your shower.