

Learning how to replace a faucet starts with more than choosing a style. You also need to check how the old faucet is mounted, whether the new model fits the sink, and whether the shutoff valves and supply connections are in usable condition. Careful planning can help you decide whether this is a manageable DIY project or a job to hand to a plumber.
Contact Tommie’s Plumbing for faucet help
What should you check before replacing a faucet?
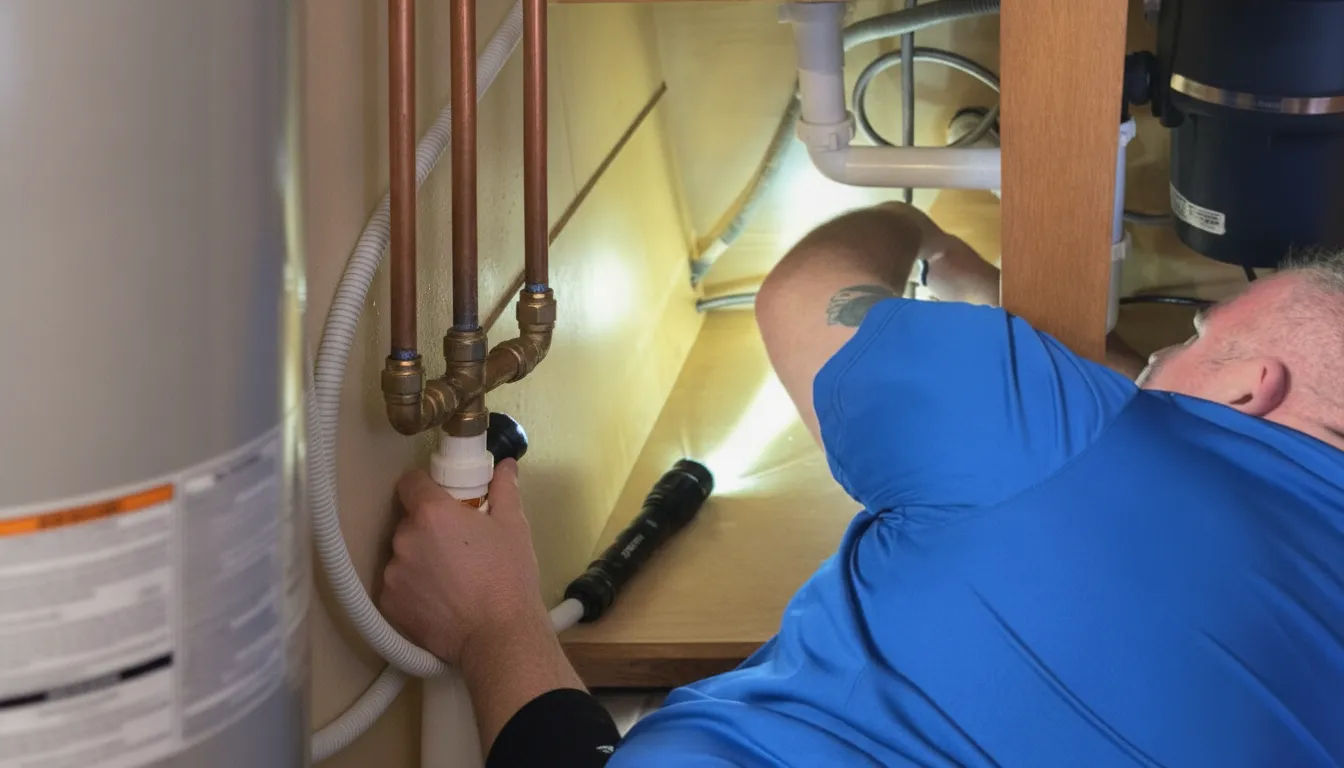
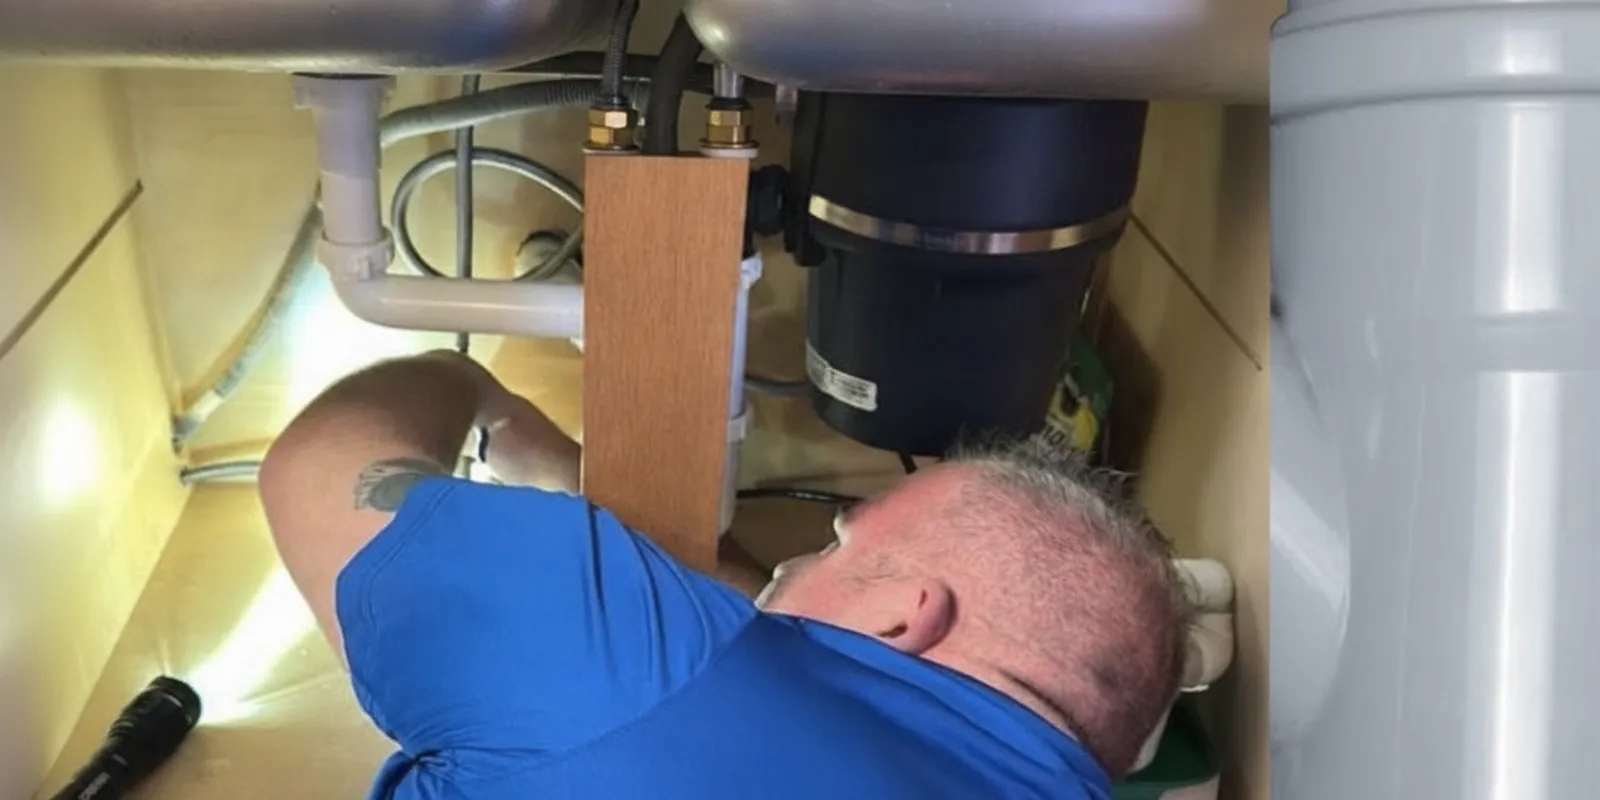
Start by looking at the faucet and the area around it. Note whether it is in a kitchen, bathroom, laundry sink, or another location. Look beneath the basin with a flashlight, if you can do so safely, and take a few clear photographs of the connections and mounting area. These details can help you compare replacement models and explain the setup if you ask for professional help.
Check for active drips, dampness, corrosion, staining, or a musty smell in the cabinet. Water may come from the faucet, a supply connection, the drain, or another nearby source, so do not assume that replacing the faucet will solve every leak. Dry the area and observe where moisture returns. If water is spreading, a valve will not turn, or you cannot identify the source, stop and seek help rather than starting a removal that could make the leak worse.
Then consider what you want the new faucet to do. A taller spout may make it easier to fill a pot, while a pull-down spray head changes the faucet’s reach and hose arrangement. In a bathroom, handle style and available space can matter as much as appearance. Choose a model that suits the way the sink is used, while checking its installation requirements before purchase.
How do you know whether the new faucet will fit?
Faucets are not all installed the same way. A sink or countertop may have one hole, several holes, or holes arranged at a particular distance. The faucet may cover unused holes with a base plate, or the installation may need a separate accessory. Do not rely on appearance alone. Review the faucet’s installation guide and match its mounting arrangement to the openings in the sink.
Look at the number and placement of the existing faucet openings. Measure the distance between openings where relevant, and check the space behind the faucet for a backsplash, wall, or window ledge that could restrict handle movement. Also check the clearance underneath the sink. A deep basin, cabinet shelf, disposal, or other plumbing can make it difficult to reach mounting hardware or connect a hose.
Compare the new faucet’s connection details with the existing setup. Check whether its supply hoses are included, what fittings they use, and whether they can reach the shutoff valves without being stretched or sharply bent. The faucet’s instructions should identify the required arrangement. If the instructions are unclear or a part does not match what you see, pause before buying adapters or forcing a connection.
For a faucet change that also involves a different sink configuration, new holes, or work on the countertop, the project may go beyond a straightforward fixture swap. Plan for those changes before removing the existing faucet. A plumber can review the plumbing side of a fixture replacement; Tommie’s Plumbing also handles faucet repairs in East Tennessee.
What tools and parts should you have ready?
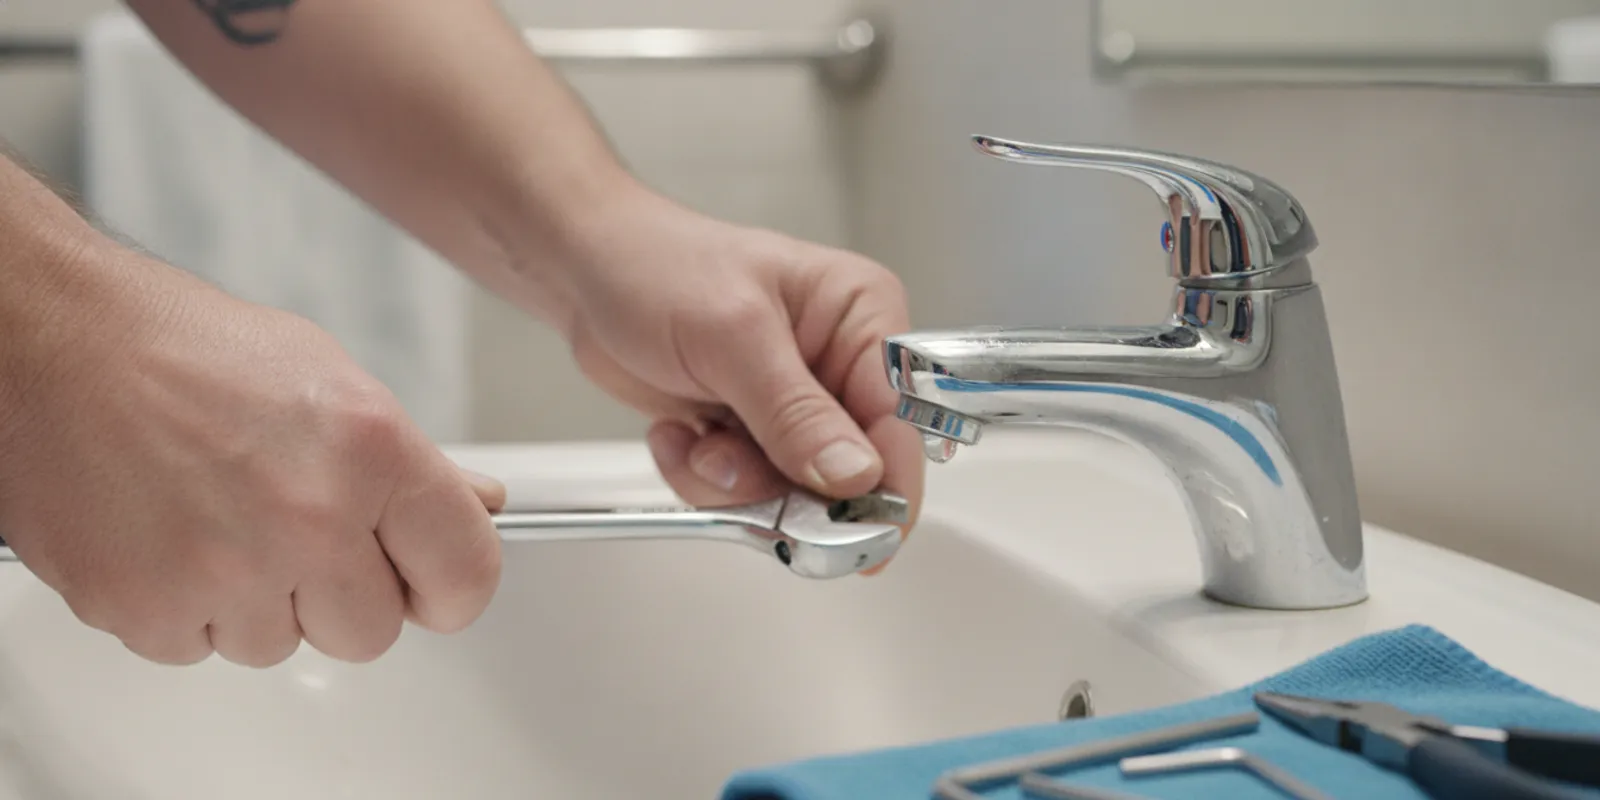
Read the product instructions first. The exact tools depend on the faucet and the conditions beneath the sink, but common items may include an adjustable wrench, a basin wrench or other tool suited to the mounting nuts, a bucket, towels, and a flashlight. Some faucets include a specialized tool or parts. Gather what the instructions call for before shutting off the water.
Have the correct replacement faucet and any manufacturer-specified fittings on hand. Do not assume that parts from the old faucet will fit the new one, or that a new faucet will connect directly to every existing valve. Keep small pieces together and avoid substituting a fitting simply because its threads seem close. A mismatched or poorly tightened connection may leak.
Protect the cabinet and its contents. Remove stored items from beneath the sink, place a bucket or shallow container under the connections, and keep towels nearby. If the cabinet has an electrical outlet or a disposal nearby, take care to keep water away from electrical components. Do not work in a wet area around energized equipment.
It is useful to have the faucet instructions available throughout the job. Take photographs before disconnecting anything and label the hot and cold lines if their positions are not obvious. These simple records can help you put components back in the right places and can be useful if you need to pause and call a professional.
How do you shut off the water safely?
Before loosening a supply connection, turn off the hot and cold shutoff valves serving the faucet. They are usually beneath the sink, but the arrangement varies. Turn each valve gently; do not force a stuck or badly corroded valve. If a valve will not close, begins leaking, or feels as though it may break, stop and get plumbing help. Do not proceed on the assumption that a partly closed valve will control the water.
Once the valves are closed, open the faucet handles to release pressure and drain water remaining in the lines. Confirm that flow has stopped before disconnecting a hose. Keep a container under the connection because some water may remain in the faucet or supply line even after the valves are closed.
If there are no working local shutoffs, you may need to turn off the home’s main water supply. Make sure you know where it is and how to operate it before you begin. If the main shutoff is inaccessible, damaged, or will not fully stop the flow, do not remove the faucet. A plumber can address the valve issue and help avoid an uncontrolled leak.
How do you remove the old faucet?
Follow the removal instructions for the faucet you have. With the water safely off, disconnect the hot and cold supply lines at the appropriate connections, using a wrench carefully so the valve or pipe does not twist. Catch residual water in the bucket. If a connection is seized, corroded, or begins moving with the valve, stop rather than applying more force.
Next, locate the mounting hardware beneath the sink. Faucet designs use different nuts, brackets, and plates. Support the faucet from above while removing its mounting hardware, if possible, so it does not fall or scratch the sink. A basin wrench can help reach some nuts, but access may still be difficult in a cramped cabinet. Take care around the drain assembly and other nearby plumbing.
After loosening the mounting pieces, lift the faucet out without pulling against connected parts. Clean the sink surface and remove old residue according to the sink and faucet manufacturers’ guidance. Inspect the area for damage, corrosion, or evidence of water intrusion. If the sink surface is cracked, the mounting area is deteriorated, or the cabinet is wet or damaged, address that condition before covering it with a new fixture.
Do not cut or modify a countertop or sink opening as an improvised way to make a faucet fit. If the old fixture is difficult to remove because its hardware has corroded in place, or if you cannot reach it without damaging nearby components, the safer choice is to stop and arrange professional assistance.
How do you install the replacement faucet?
Use the installation guide for the specific faucet as the controlling instructions. Assemble any parts that the manufacturer says to prepare before placing the faucet. Depending on the model, that may include attaching a gasket, mounting plate, handles, or hoses. Some components must be installed in a particular order, so avoid relying on a generic video or instructions for a different faucet model.
Position the faucet over the intended opening and check its orientation from above. Confirm that the handle or handles move freely and that the spout points where you need it to. From below, install the mounting hardware in the order specified. Keep the faucet aligned while tightening. Tighten securely, but do not overtighten or use force that could damage the fixture, sink, or mounting hardware.
Connect the hot and cold supplies according to the faucet instructions and the markings on the faucet. The lines should reach without strain, twisting, or kinking. Keep the hoses away from sharp edges and moving parts. Use only the connection method and sealing components specified for the parts you have; adding tape or sealant where it is not called for can interfere with a fitting.
Before restoring water, check that the connections are properly seated and that no tools or loose parts are left in the cabinet. If the new faucet uses a pull-down or pull-out hose, check that it moves as intended and does not catch on stored items or other plumbing. The hose should be able to travel through its intended path without pulling on the connections.
How should you test the faucet for leaks?
Open the shutoff valves slowly and watch the connections as water returns. If a connection begins to drip or spray, close the valve and stop the test. Do not keep tightening a fitting while the line is pressurized. Once the water is on, operate the faucet and check both hot and cold flow. Follow the manufacturer’s directions for flushing the new faucet before normal use.
Inspect the supply connections with a dry paper towel or clean cloth. Check each connection directly, then look again after the faucet has run. A small leak may show up as a bead of water or a damp mark before it becomes obvious. Check the cabinet floor and the sink surface, too. If a leak returns after a careful check, shut off the water and seek help rather than leaving the faucet in service.
Make sure the faucet handle closes fully and that the spout, sprayer, and any included accessories work as expected. Look beneath the sink again after use and later in the day. Water that appears near the faucet could come from a supply connection, the sink drain, or water splashed onto the countertop, so trace the source before deciding what repair is needed.
When is faucet replacement more complicated than it looks?
A faucet replacement can become more involved when shutoff valves do not work, supply lines are deteriorated, mounting hardware is badly corroded, or access beneath the sink is restricted. An older installation may not match the connections included with a new faucet. In those situations, the job may require attention to the existing plumbing rather than a simple fixture swap.
Other complications include a damaged sink, a faucet that does not fit the existing openings, unexpected water damage, or a leak that continues after the faucet is removed. If the project requires changing the sink, countertop, or plumbing layout, it is worth clarifying the full scope before beginning. Forcing parts together or improvising around a mismatch can create a leak or make future service harder.
It is also reasonable to stop if you cannot confidently shut off the water, cannot identify the hot and cold connections, or do not have the right tools for the mounting hardware. A DIY attempt is not a requirement. Protecting the home and understanding the work needed matter more than completing the replacement yourself.
Homeowners in Northeast Tennessee can review Tommie’s Plumbing’s plumbing services or learn more about the company’s local plumbing experience. The company describes more than 30 years of trade experience and handles faucet replacements as part of its plumbing work.
What can affect the cost of replacing a faucet?
There is no single cost that applies to every faucet replacement. The faucet itself can vary in design, materials, features, and included components. Labor depends on the existing setup and how readily the old fixture can be removed. A replacement that fits the current openings and connects to working shutoff valves is different from a job that also needs valve, supply-line, sink, or countertop work.
Before approving work, ask what the estimate includes. Find out whether it covers removal and disposal of the old faucet, installation of the new fixture, connections, testing, and any parts expected to be replaced. Ask which parts are outside the quoted scope if a hidden problem is discovered after removal. A clear scope helps you compare options and understand why an estimate may change if the conditions differ from what was visible at first.
Have the faucet model or product details ready when requesting an estimate. Share photographs of the faucet above and beneath the sink, the shutoff valves, and any visible damage. Explain whether the faucet is leaking, difficult to operate, or being replaced for a different reason. This information can help the plumber understand the setup, though an on-site assessment may still be needed to confirm what work is appropriate.
Tommie’s Plumbing’s FAQ explains that estimates are conducted on-site with Good, Better, and Best options. You can review the plumbing FAQs and ask for the details of the recommended work and its price before deciding. Do not assume an old coupon or online promotion applies to your particular faucet replacement; confirm current terms directly.
What should you ask before hiring a plumber?
Good questions can make a service visit clearer. Ask whether the plumber will assess the faucet, shutoff valves, and supply connections, and whether the estimate includes the faucet or assumes you will supply it. If you have already purchased a model, share its brand and installation instructions and confirm that it is suitable for the existing sink before work begins.
- What did you find that makes repair or replacement the recommended option?
- Does the estimate include removal, installation, parts, and leak testing?
- Are the existing shutoff valves and supply lines suitable for the new faucet?
- What could change the scope or price once the old faucet is removed?
- Will you explain the work before proceeding if another issue is found?
These questions are useful whether the faucet is being replaced because it leaks, no longer operates well, or no longer suits the sink. They also help distinguish the faucet work from an unrelated leak or drain problem. For more on choosing a repair path, see the information about faucet repair and describe the symptoms you have noticed.
Frequently asked questions
Can I replace a faucet without replacing the sink?
Often, a faucet can be changed while keeping the same sink, provided the new faucet fits the existing openings and the sink is in suitable condition. Check the new faucet’s mounting requirements, hole arrangement, and available space before buying it. A different configuration may require additional work.
Should I replace the supply lines with the faucet?
It depends on the condition and compatibility of the existing lines and the faucet manufacturer’s requirements. Inspect for corrosion, damage, kinks, or signs of leaking, and confirm that the fittings match. If the lines are questionable or connections do not fit, ask a plumber to assess them rather than forcing the parts together.
What if the shutoff valve will not turn?
Do not force a stuck or corroded valve. A valve that breaks or starts leaking can turn a planned fixture replacement into an urgent plumbing problem. Stop and arrange help to address the shutoff before disconnecting the faucet.
How can I tell whether the faucet or the drain is leaking?
Dry the area, then observe when and where moisture returns. A leak that appears while water is running may involve the faucet, its supply connections, or the drain, while water spilled on the counter can also travel beneath the sink. If the source is not clear, have it checked before choosing a repair.
Ask Tommie’s Plumbing about your faucet
Whether you replace the faucet yourself or request professional help, check the fit and connections before starting, work only with water you can safely shut off, and verify that everything stays dry after the job is complete.